")
Kitchen Respray Best Practices 2025: Achieve Lasting Results
Choosing to respray your kitchen in England brings the promise of a stunning transformation, but every homeowner knows the results hinge on proper preparation and the latest application methods. With precise cleaning, expert surface assessment, and protection of your surroundings, you lay the groundwork for a pristine painting environment. This guide reveals how modern tools and best practices safeguard both aesthetics and durability, giving your kitchen a fresh lease of life with resilience that truly lasts.
Table of Contents
- Step 1: Prepare Your Kitchen For Respray
- Step 2: Select Modern Respray Materials And Colours
- Step 3: Apply Respray Techniques For Flawless Coverage
- Step 4: Inspect And Test Resprayed Surfaces
- Step 5: Maintain Your Resprayed Kitchen For Durability
Quick Summary
| Key Point | Explanation |
|---|---|
| 1. Thoroughly inspect surfaces before respraying | Check for damage or repairs needed to ensure a clean and functional workspace for painting. |
| 2. Choose high-quality, durable materials | Use professional-grade paint systems designed for kitchens to achieve lasting results and maintain aesthetics. |
| 3. Master the spray application technique | Employ smooth, consistent movements and multiple thin layers to ensure even coverage and prevent drips. |
| 4. Conduct a detailed inspection post-respray | Assess the finish for colour consistency and surface smoothness, addressing flaws promptly for a professional look. |
| 5. Implement regular maintenance practices | Use gentle cleaning methods and environmental controls to extend the life of your resprayed surfaces. |
Step 1: Prepare your kitchen for respray
Preparing your kitchen for a professional respray is the crucial first stage that determines the quality and longevity of your final finish. This preparatory phase involves strategic cleaning, surface assessment, and methodical protection of surrounding areas to ensure a pristine painting environment.
Your preparation process begins with a comprehensive surface inspection. Check all kitchen cabinet doors, drawer fronts, and panels for existing damage, loose hardware, or areas requiring repair. Remove all handles, knobs, and removable fittings to create a clean workspace. Pay special attention to surface preparation techniques that will help achieve a smooth, professional result.
Next, thoroughly clean all surfaces using a degreasing solution specifically designed for kitchen cabinetry. This step removes years of accumulated cooking residue, grease, and grime that could compromise paint adhesion. Use the following systematic cleaning approach:
- Remove all items from cabinets and countertops
- Use a heavy-duty degreaser applied with microfibre cloths
- Scrub gently but thoroughly, paying extra attention to areas near cooking zones
- Rinse with clean water and allow surfaces to dry completely
- Lightly sand surfaces to create a slightly rough texture for better paint grip
Protect your kitchen’s surrounding areas by covering countertops, appliances, and flooring with high-quality masking materials. Use painter’s tape to seal edges precisely and lay down drop cloths to prevent accidental paint splatter.
Professional tip: Invest in professional-grade masking materials and take your time with preparation – rushed preparation leads to substandard respraying results.
Step 2: Select modern respray materials and colours
Choosing the right materials and colours for your kitchen respray is a transformative process that can completely revitalise your kitchen’s aesthetic and functionality. This critical step involves understanding contemporary colour trends, selecting high-performance paint systems, and making design choices that reflect your personal style.
Start by exploring contemporary colour palettes that complement your kitchen’s existing architectural elements. Modern kitchen design increasingly favours neutral sophisticated tones with occasional bold accent colours. Consider kitchen cabinet colour trends that balance timeless elegance with contemporary flair. Your colour selection should harmonise with:
- Existing worktop materials
- Floor colouration
- Natural light conditions
- Overall home interior design
- Personal aesthetic preferences
Materials selection is equally crucial. Professional-grade kitchen respray requires specialised paint systems designed for high-moisture, high-traffic environments. Look for durable acrylic-based paints that offer:
- Excellent adhesion to different surface materials
- Resistance to moisture and grease
- Long-lasting colour retention
- Quick-drying formulations
- Minimal volatile organic compounds (VOCs)
Investing in premium materials ensures your kitchen respray looks professional and maintains its finish for years to come.
Consider undertaking small colour tests or obtaining sample swatches to visualise how different shades interact with your kitchen’s lighting and existing features. Many professional respray services offer digital visualisation tools to help you preview potential colour transformations.
Professional tip: Always purchase slightly more paint than your initial calculations suggest – this provides a buffer for unexpected touch-ups and ensures colour consistency across your kitchen surfaces.
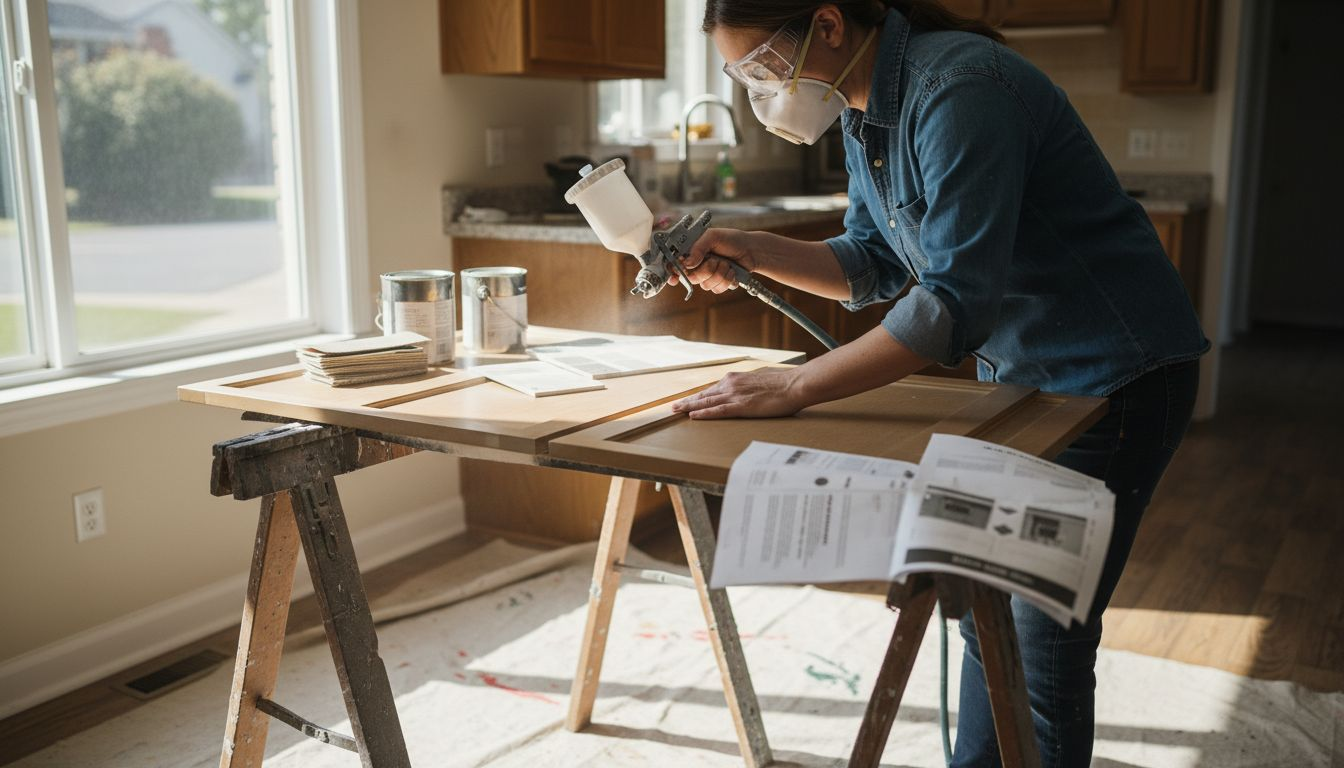
Step 3: Apply respray techniques for flawless coverage
Achieving a professional-quality kitchen respray requires precision, skill, and understanding of advanced application techniques. The goal is to transform your kitchen surfaces with a smooth, factory-like finish that looks immaculate and withstands daily wear and tear.
Professional respray techniques demand meticulous attention to environmental conditions and application methodology. Begin by ensuring your workspace is dust-free, well-ventilated, and maintains a consistent temperature between 18-22°C. Your equipment setup is crucial and should include:
- High-quality professional spray equipment
- Multiple grades of fine sandpaper
- Precision masking materials
- Protective personal equipment
- Specialised kitchen surface primers
Spray application technique is paramount for achieving an even, seamless finish. Hold the spray gun approximately 15-20 centimetres from the surface, moving in smooth, consistent horizontal passes. Overlap each pass by approximately 50% to ensure complete coverage without creating uneven patches or thick paint build-up.
Professional resprayers know that technique matters more than equipment – consistent motion and proper distance are key to a flawless finish.
Apply paint in thin, multiple layers rather than attempting to achieve complete coverage in a single heavy coat. This approach prevents drips, ensures better adhesion, and creates a more durable finish. Allow adequate drying time between each light coat, typically 10-15 minutes, depending on your chosen paint system’s specifications.
Professional tip: Practice your spray technique on a spare piece of material before starting your kitchen respray to develop muscle memory and understand your spray gun’s precise characteristics.
Step 4: Inspect and test resprayed surfaces
The final stage of your kitchen respray journey involves a comprehensive quality verification process that ensures your newly transformed surfaces meet professional standards. This critical examination determines the success of your entire respraying project and identifies any potential areas requiring touch-ups or refinement.
Surface inspection techniques are paramount for achieving a flawless finish. Begin by conducting a detailed visual assessment under bright, natural lighting that reveals even the subtlest imperfections. Your inspection should focus on several key areas:
- Overall colour consistency
- Absence of drips or uneven paint distribution
- Smooth texture without visible brush or spray marks
- Uniform gloss or matte finish
- Complete surface coverage
Tactile examination provides another crucial layer of quality verification. Gently run your hand across the resprayed surface, feeling for any:
- Rough patches
- Paint runs
- Unexpected texture variations
- Minor bubbling or pitting
A professional finish is not just about appearance, but the seamless integration of visual perfection and tactile smoothness.
Conduct adhesion tests by applying gentle pressure with painter’s tape to verify the paint’s bonding strength. Carefully remove the tape at a 45-degree angle – minimal to no paint lifting indicates a successful application. For areas exposed to frequent moisture or heat, perform additional durability assessments to ensure long-term performance.
Professional tip: Wait at least 48 hours after completing your respray before conducting final inspections, allowing the paint to fully cure and reveal its true finish.
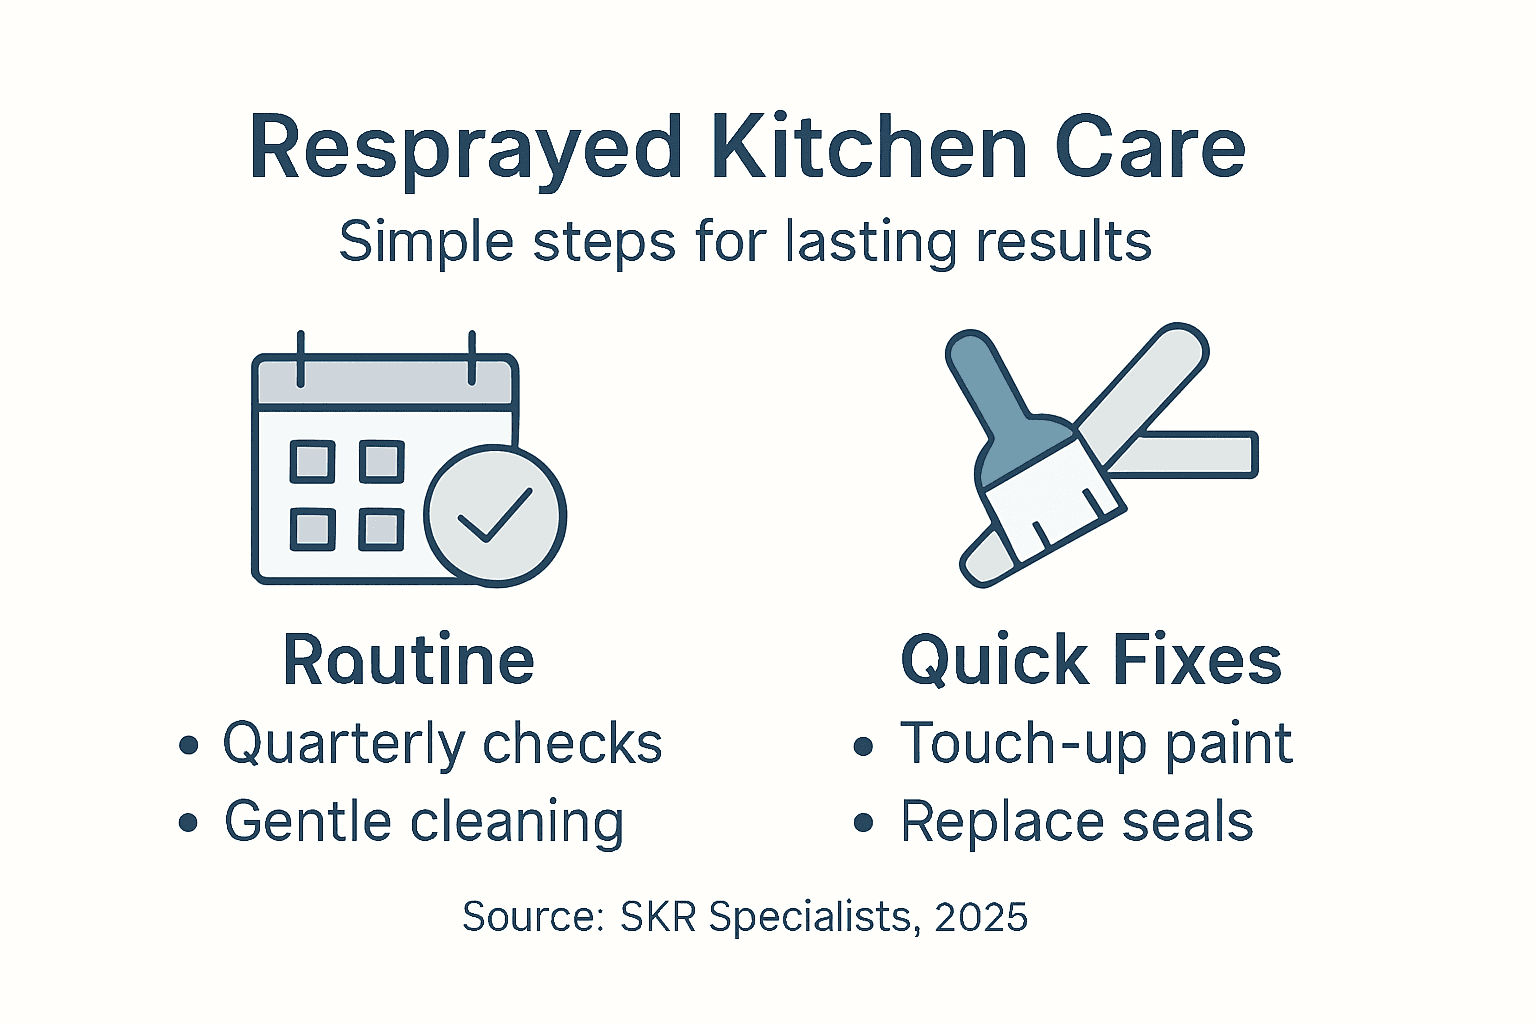
Step 5: Maintain your resprayed kitchen for durability
Preserving the pristine finish of your newly resprayed kitchen requires a strategic approach to cleaning, protection, and regular maintenance. Your goal is to extend the lifespan of the respray while keeping surfaces looking professionally pristine for years to come.
Kitchen respray maintenance techniques are fundamental to protecting your investment. Develop a gentle cleaning routine that prevents surface degradation and maintains the paint’s original lustre. Your maintenance strategy should include:
- Using soft microfibre cloths for daily cleaning
- Selecting pH-neutral, non-abrasive cleaning solutions
- Avoiding harsh chemical cleaners
- Immediately wiping up spills to prevent staining
- Implementing protective measures against scratches
Environmental control plays a crucial role in maintaining your kitchen’s finish. Regulate kitchen humidity levels and ensure proper ventilation to prevent moisture-related paint degradation. Pay special attention to areas near cooking zones and sinks, which experience higher temperature and moisture variations.
Consistent, gentle care is more effective than aggressive cleaning in preserving your kitchen’s resprayed surfaces.
Conduct quarterly visual inspections to identify potential wear points or areas requiring minor touch-ups. Address small imperfections promptly to prevent more extensive damage. For high-traffic areas or surfaces exposed to frequent moisture, consider applying a protective clear sealant recommended by your respray professional.
Professional tip: Create a dedicated cleaning kit with microfibre cloths and specialist cleaning products specifically chosen for your resprayed surfaces to maintain their pristine appearance.
Refer to this table for quick solutions to common post-respray issues:
| Issue | Likely Cause | Recommended Solution |
|---|---|---|
| Paint lifting on edges | Inadequate surface prep | Re-sand, clean, and recoat area |
| Dull or uneven sheen | Poor application or drying | Apply extra topcoat or polish |
| Sticky or soft finish | Insufficient curing time | Allow longer drying before use |
| Fine dust or rough spots | Dust contamination | Light sanding, then touch-up |
| Fading in sunny areas | Low UV resistance paint | Use UV-protective topcoat |
Here’s an overview of how each kitchen respray stage supports long-term durability and aesthetics:
| Stage | Key Purpose | Long-Term Benefit |
|---|---|---|
| Preparation | Ensures flawless paint adhesion | Prevents chipping and peeling |
| Material Selection | Matches paint to kitchen needs | Resists moisture and wear |
| Application Technique | Creates a seamless, smooth finish | Enhances visual appeal |
| Inspection | Identifies and corrects flaws | Maintains a professional look |
| Maintenance | Preserves surface and colour | Extends respray lifespan |
Transform Your Kitchen with Expert Respray Services
Struggling to achieve a flawless and lasting kitchen respray? This article highlights critical challenges like surface preparation, selecting the right paint, and achieving perfect application technique to avoid peeling, uneven finishes, or early wear. If you’ve faced these frustrations or want to ensure your kitchen’s new look stands the test of time, professional help is essential. Our specialists understand the importance of proper preparation, premium materials, and meticulous inspection and maintenance to give you a smooth, durable finish that enhances your home’s style.

Discover how our professional kitchen respray service at SKR Specialists can solve these issues efficiently and in-situ without disruption. Explore expert insights and practical solutions in our Uncategorized Archives – WordPress to deepen your understanding. Take action now to revitalise your kitchen with confidence by visiting SKR Specialists and booking a consultation tailored for your home’s unique needs.
Frequently Asked Questions
How can I prepare my kitchen for a respray?
To prepare your kitchen for a respray, start with a thorough surface inspection to identify any damage. Remove all cabinet handles and clean surfaces with a degreaser, then lightly sand to promote paint adhesion. Ensure your workspace is protected by covering surrounding areas and using masking tape accurately.
What materials are best for a kitchen respray?
Opt for professional-grade, durable acrylic-based paints designed for high-moisture environments. Choose materials that offer excellent adhesion, resistance to grease, and low volatile organic compounds (VOCs). Selecting the right paint helps achieve a lasting finish in your kitchen.
What techniques should I use for a flawless kitchen respray?
For a flawless kitchen respray, employ a spray application technique that ensures smooth, even coverage. Hold the spray gun about 15-20 centimetres from the surface, using consistent horizontal movements while overlapping each pass by 50%. This method helps avoid drips and ensures a smooth finish.
How do I maintain my resprayed kitchen surfaces?
Maintain your resprayed kitchen surfaces by using soft microfibre cloths and pH-neutral cleaning solutions. Avoid harsh chemicals and promptly wipe up spills to prevent staining. Implementing a gentle cleaning routine helps preserve the finish and extends its lifespan.
What should I check during the final inspection of my respray?
During the final inspection, look for colour consistency, smooth texture, and absence of drips or uneven patches. Run your hand over the surface to feel for rough areas and perform adhesion tests with painter’s tape. Address any imperfections promptly to ensure a professional finish.
How long should I wait before using my resprayed kitchen?
Wait at least 48 hours after completing your respray before fully using the kitchen to allow the paint to cure properly. This time frame ensures the durability of the finish and helps reveal any potential areas needing touch-ups.