")
Kitchen Cabinet Touch Up Process for Flawless Results
Did you know that kitchen makeovers can increase home value by up to 10 percent? Even a simple cabinet touch up gives your kitchen a fresh, inviting look without the high cost of a full renovation. Many homeowners find that careful preparation and attention to detail lead to a finished space that feels brand new. With the right approach, you can restore your cabinets and enjoy a stylish kitchen that lasts for years.
Table of Contents
- Step 1: Prepare Cabinets And Surrounding Area
- Step 2: Clean And Inspect Cabinet Surfaces
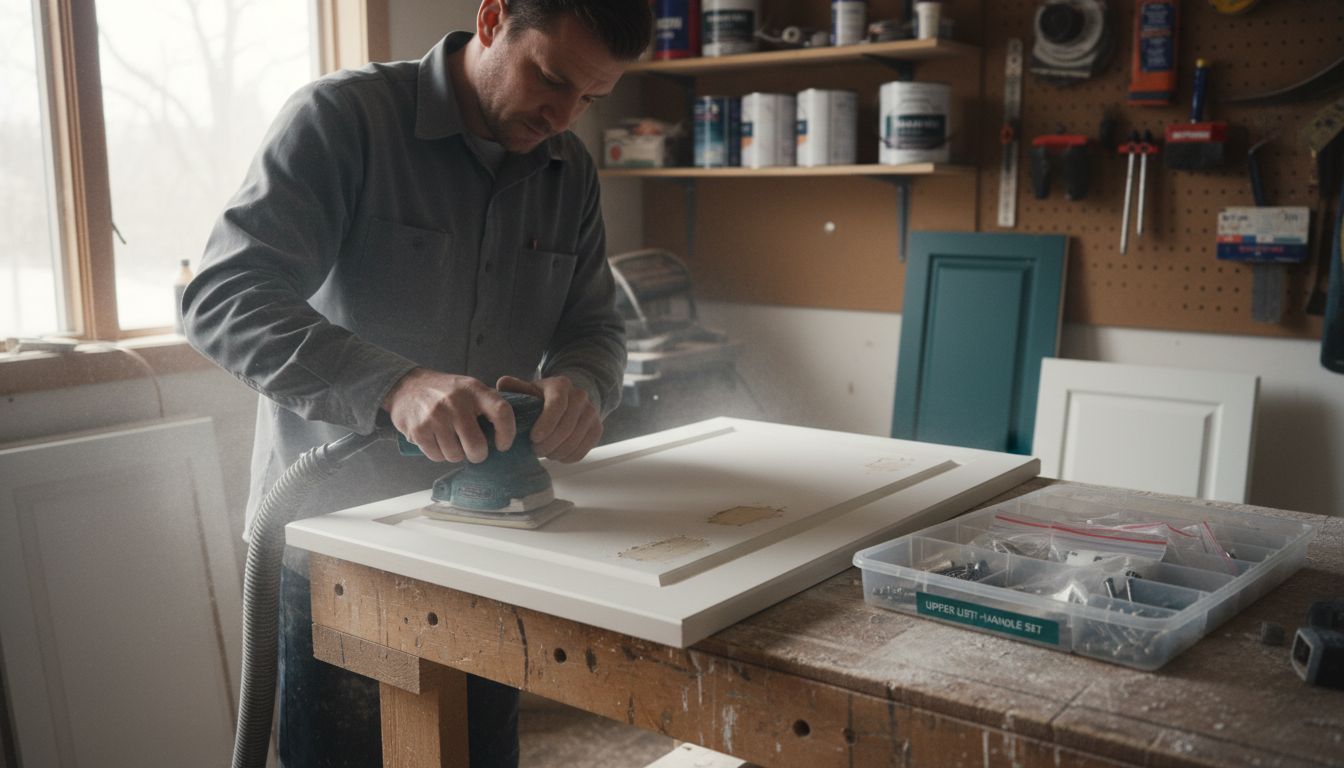
- Step 3: Repair And Sand Imperfections
- Step 4: Apply Touch Up Paint Evenly
- Step 5: Verify Finish And Reassemble Cabinets
Quick Summary
| Key Point | Explanation |
|---|---|
| 1. Prepare your workspace thoroughly | Clear countertops, protect surfaces, and organize to avoid mess and confusion during the touch-up process. |
| 2. Clean and inspect cabinet surfaces | Use a sugar soap solution to remove grime and check for damage before painting to ensure a flawless finish. |
| 3. Repair and sand imperfections | Fill scratches and sand areas to create a smooth base, enhancing paint adhesion and overall appearance. |
| 4. Apply paint in thin coats | Use the right tools and techniques, and apply multiple thin layers instead of one thick coat to achieve a uniform finish. |
| 5. Verify and reassemble carefully | After painting, thoroughly check for imperfections and use labels for accurate reassembly to ensure a polished look. |
Step 1: Prepare Cabinets and Surrounding Area
Starting a kitchen cabinet touch up requires meticulous preparation. You will transform your kitchen by carefully preparing the workspace and cabinets for a professional finish.
Begin by clearing everything from your kitchen countertops and protecting surrounding surfaces. According to the kitchen door removal tutorial, remove all cabinet doors and hardware systematically. Use painter’s tape and plastic sheeting to cover countertops, appliances, and flooring to prevent accidental paint splatters.
Remove each cabinet door carefully and label them precisely. This step prevents confusion during reassembly and ensures you can return each door to its exact original location. Place doors on a stable, flat surface away from your working area where they can be safely painted later.
Pro Tip: Use numbered masking tape labels that match corresponding cabinet locations for foolproof replacement.
Ensure your kitchen is well ventilated before starting. Open windows and create cross airflow to manage paint fumes and help surfaces dry efficiently. Move any remaining kitchen items to another room to provide yourself with a clean working environment.
Next, you’ll want to thoroughly clean and prepare the cabinet surfaces for touch up work. Get ready to create a flawless finish that will make your kitchen look brand new.
Step 2: Clean and Inspect Cabinet Surfaces
Transforming your kitchen cabinets begins with thorough cleaning and careful inspection. You will prepare your surfaces to achieve a professional finish that looks stunning and lasts.
Start by mixing a solution of sugar soap and warm water. According to research from the kitchen spray coating guide, thoroughly clean each cabinet surface to remove years of accumulated grease and grime. Use a soft microfibre cloth and work systematically from top to bottom, ensuring no area is missed.
Once cleaned, allow surfaces to dry completely. Then conduct a detailed visual inspection of each cabinet panel. Look for signs of water damage, hairline cracks, or areas of wear that might need special attention. Checking for these issues now prevents potential problems during the touch up process.
Pro Tip: Use bright, natural light or a strong torch to reveal surface imperfections that might be invisible under normal lighting.
After identifying any damaged areas, lightly sand the surfaces using fine grit sandpaper. This step creates a smooth base and helps new paint adhere properly. Be gentle and consistent to avoid creating additional scratches or uneven patches.
Prepare to move forward with confidence knowing your cabinet surfaces are pristine and ready for a remarkable transformation.
Here’s a summary of the essential steps for a flawless kitchen cabinet touch up:
| Step | Key Actions | Purpose |
|---|---|---|
| Prepare Cabinets & Area | Clear space Remove doors Protect surfaces |
Prevent mess Ease reassembly |
| Clean & Inspect | Sugar soap clean Dry thoroughly Check damage |
Ensure adhesion Spot issues |
| Repair & Sand Imperfections | Fill holes Sand smooth Remove dust |
Smooth base Professional look |
| Apply Touch Up Paint Evenly | Choose right paint Use roller/brush Thin coats |
Uniform finish No drips |
| Verify Finish & Reassemble | Inspect surfaces Let paint cure Fit hardware |
Durable result Clean assembly |
Step 3: Repair and Sand Imperfections
Repairing and sanding your kitchen cabinet surfaces is a critical step in achieving a flawless finish. You will transform damaged areas and create a smooth canvas ready for painting.
Start by carefully examining each cabinet surface for imperfections. According to the kitchen touch ups guide, addressing damage before painting is essential. Look for scratches, small dents, water marks, or areas with peeling paint that need special attention.
For minor scratches and small holes, use wood filler or spackling compound. Apply the product carefully with a putty knife, ensuring you fill the imperfection completely. Allow the filler to dry thoroughly before sanding. For deeper damage or wood rot, you might need to replace entire sections of the cabinet panel.
Pro Tip: Choose a wood filler that matches your cabinet material and can be sanded smooth once dried.
Once the filler is completely dry, begin sanding the repaired areas. Use progressively finer grit sandpaper to create a smooth surface. Start with medium grit to remove excess filler, then move to fine grit to blend the repaired area seamlessly with the surrounding surface.
Remove all sanding dust with a tack cloth, preparing your cabinets for the next transformative step in your kitchen renovation journey.
Step 4: Apply Touch Up Paint Evenly
Applying touch up paint requires precision and patience to transform your kitchen cabinets into a professional looking masterpiece. You will learn how to create a smooth, flawless finish that looks like it was done by an expert.
Before painting, carefully select a paint that matches your existing cabinet colour and finish. Consulting the best spray paints for kitchen units comparison can help you choose the right product. According to professional painting research, thoroughly stir your chosen paint to ensure consistent colour and texture.
Use separate tools for different paint application techniques. A high quality brush works best for detailed areas like edges and corners, while a small foam roller provides smooth coverage on larger flat surfaces. Apply paint using long, even strokes in the same direction to prevent visible brush marks or uneven texture.
Pro Tip: Work in a well lit area and use natural daylight to spot any inconsistencies in your paint application.
Apply multiple thin coats rather than one thick layer. This approach prevents drips, ensures better adhesion, and allows each layer to dry completely.
Wait at least 15 to 20 minutes between coats, checking the paint manufacturer’s specific guidance for drying times.
Your cabinets are now one step closer to a stunning, professional finish that will breathe new life into your kitchen space.
Step 5: Verify Finish and Reassemble Cabinets
With the painting complete, you are now in the final stage of transforming your kitchen cabinets. This crucial step ensures your hard work results in a professional and polished appearance.
According to the kitchen touch-ups guide, patience is key during the final verification process. Allow the paint to dry completely for at least 12 hours before attempting to reattach any hardware. This waiting period ensures the paint has fully cured and prevents potential smudging or damage.
Carefully inspect each cabinet surface under bright, natural light. Look for any uneven patches, drips, or areas that might need additional touch ups. Run your hand gently over the surface to check for smoothness and consistency. Pay special attention to corners and edges where paint application can be more challenging.
Pro Tip: Use a bright torch or work near a window to catch any subtle imperfections that might be missed under normal lighting.
When reattaching doors and handles, use your original labelling system to ensure each piece returns to its exact original location. Align hardware precisely and tighten screws gradually to prevent any paint chipping or misalignment.
Step back and admire your newly transformed kitchen cabinets. Your meticulous work has breathed new life into your space.
Transform Your Kitchen Cabinets with Professional Expertise
If you have been following the kitchen cabinet touch up process, you understand how challenging it can be to achieve a flawless finish. From preparing and cleaning cabinets to repairing imperfections and applying paint evenly, the process demands patience and precision. Many homeowners struggle with avoiding drips, ensuring perfect colour matching, and preventing damage during reassembly. Whether it is the fear of visible brush marks or the worry of uneven surfaces, these pain points can make refreshing your kitchen overwhelming.
Discover the stress-free solution offered by our professional kitchen respray service. We respray kitchens in-situ with expert care and attention, delivering a smooth and durable finish that revitalises your space without the hassle. Explore practical tips and deeper insights in our Uncategorized Archives while also seeing how effortless cabinet transformation can be.

Why settle for touch ups that may fall short when you can trust skilled professionals to handle every detail? Visit our homepage today and let us give your kitchen cabinets the flawless refresh they deserve. Take the next step now and bring a fresh, polished look to your kitchen with ease and confidence.
Frequently Asked Questions
What are the first steps in the kitchen cabinet touch up process?
Start by preparing your cabinets and the surrounding area. Clear the countertops, remove cabinet doors and hardware, and protect surfaces with painter’s tape and plastic sheeting to prevent paint splatters.
How do I clean and inspect the cabinet surfaces before painting?
Mix a solution of sugar soap and warm water to thoroughly clean each cabinet surface. After cleaning, dry the surfaces completely and inspect for any damage, such as scratches or water marks, that may need special attention before proceeding.
What should I do if I find imperfections on my cabinets before painting?
Address any imperfections by filling scratches and holes with wood filler, then sand the repaired areas to ensure a smooth surface. This creates a proper base for painting, helping to achieve a professional finish.
How can I ensure an even application of touch up paint on my cabinets?
Apply the touch up paint in thin, even coats rather than a thick layer. Use a high-quality brush for detailed areas and a foam roller for flat surfaces, ensuring to wait at least 15 to 20 minutes between coats for best results.
How long should I wait before reassembling my cabinets after painting?
Wait at least 12 hours after painting before reattaching any hardware or cabinet doors. This allows the paint to fully cure, preventing smudging or damage during reassembly.
What should I check for after finishing the touch up process?
Inspect the painted surfaces under bright, natural light for any uneven patches or drips. Make necessary touch-ups, and run your hand over the surface to ensure smoothness before reattaching doors and handles.