")
Kitchen Refurbishment Guide: Refresh Your Space with Respraying
Outdated kitchen designs can make daily life feel less enjoyable and even limit your home’s potential. Many homeowners across England want affordable ways to refresh their spaces without the stress and cost of full renovations. By focusing on efficient kitchen respraying techniques, you can update cabinets and surfaces while meeting building regulations for safety and durability. This guide breaks down practical steps for assessment, preparation, colour selection, implementation, and maintenance to help you achieve a satisfying transformation on a budget.
Table of Contents
- Step 1: Assess Current Kitchen Features
- Step 2: Prepare Your Kitchen for Respraying
- Step 3: Choose Colours and Finishes Effectively
- Step 4: Implement the Kitchen Respray Process
- Step 5: Inspect and Maintain Refurbished Surfaces
Quick Summary
| Key Insight | Explanation |
|---|---|
| 1. Assess Your Kitchen Features | Conduct a thorough assessment of surface conditions and structural stability before starting. |
| 2. Prepare Thoroughly for Respraying | Clear and clean all surfaces, ensuring they are ready for a professional finish. |
| 3. Choose Suitable Colours and Finishes | Select colours considering natural light and existing decor; prefer durable finishes for practicality. |
| 4. Implement Respray with Precision | Use high-quality primer and professional techniques to ensure an even, long-lasting finish. |
| 5. Maintain and Inspect Regularly | Conduct regular inspections and clean gently to preserve the quality of your newly resprayed surfaces. |
Step 1: Assess Current Kitchen Features
Before diving into your kitchen respraying project, you’ll need to conduct a thorough assessment of your existing kitchen’s condition and features. This critical first step helps you understand the scope of work required and ensures a successful refurbishment.
Start by systematically examining your kitchen’s core components. Look closely at surface conditions, checking for signs of wear, damage, or previous repairs. Evaluate the current materials – whether you have laminate, wood, metal, or painted surfaces. Note any areas with chipping, peeling, or significant discolouration. Building regulations recommend careful inspection to ensure structural integrity and compliance with safety standards.
Your assessment should cover several key areas:
- Existing surface materials
- Current paint or coating condition
- Structural stability of cabinets and fixtures
- Potential underlying damage or moisture issues
- Overall kitchen layout and design
A comprehensive initial assessment can save significant time and money during your kitchen refurbishment process.
Additionally, take precise measurements of all surfaces you plan to respray. This includes cabinet fronts, kickboards, end panels, and any integrated appliance surrounds. Accurate measurements will help professionals determine the exact materials and preparation work required.
Expert advice: Photograph each area of your kitchen from multiple angles before beginning any refurbishment work to document the existing condition and help track your transformation.
Step 2: Prepare Your Kitchen for Respraying
Preparing your kitchen for a professional respray is a critical process that ensures a flawless, long-lasting finish. Your goal is to create the perfect surface for painting by meticulously clearing, cleaning, and protecting your kitchen’s core components.
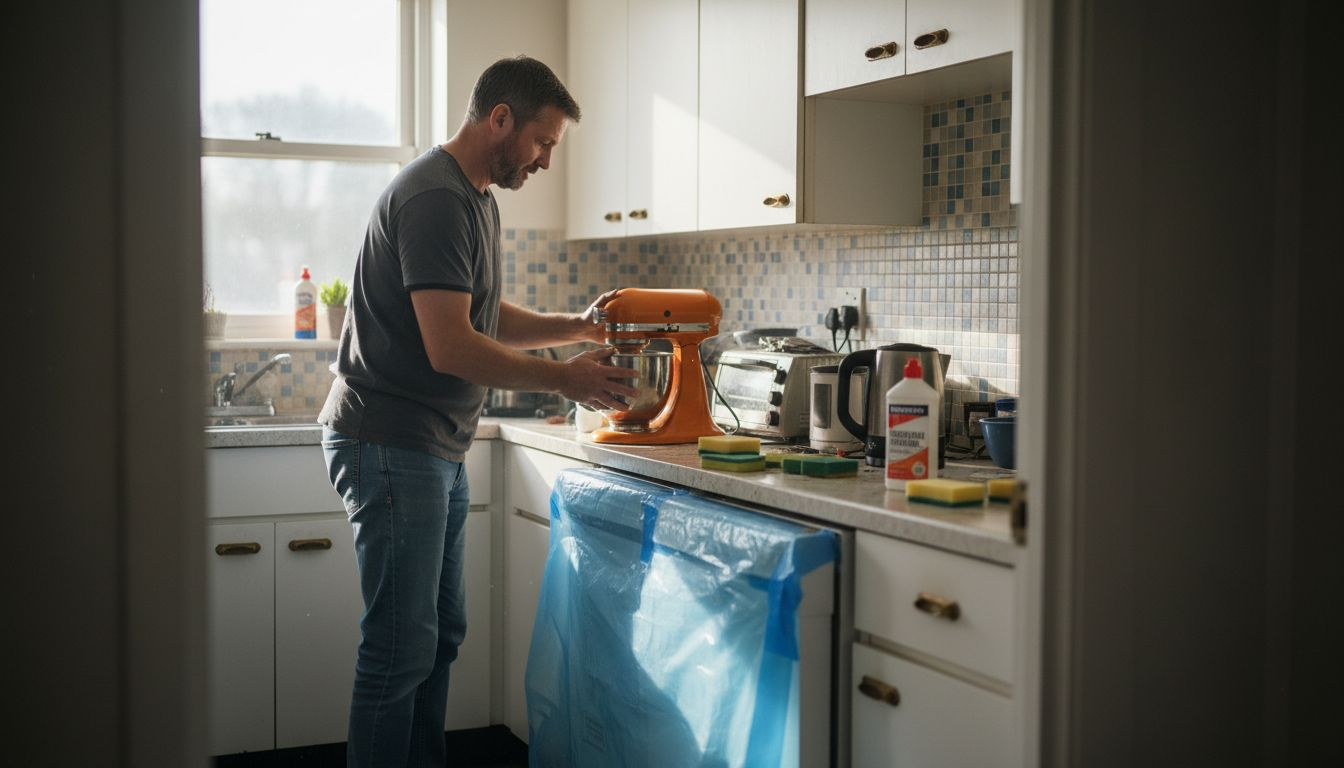
Begin by completely clearing out your kitchen. Remove all small appliances, kitchen accessories, and decorative items. For larger fixtures like the cooker or dishwasher, you’ll want to cover them completely with protective sheeting. Proper preparation involves thorough surface cleaning to ensure paint adhesion and a professional result.
Your preparation checklist should include:
- Removing all movable items from kitchen surfaces
- Covering immovable appliances with dust sheets
- Cleaning all surfaces thoroughly
- Checking for existing damage or wear
- Ensuring adequate ventilation
Professional preparation is the foundation of a successful kitchen respray project.
Next, focus on surface preparation. Thoroughly clean all surfaces using a degreasing solution to remove cooking residues, dirt, and oils. Sand wooden surfaces gently to create a slightly rough texture that helps paint adhere better. Pay special attention to areas around cookers and sinks, which tend to accumulate more grime.
Expert advice: Use masking tape and plastic sheeting to protect areas you don’t want painted, such as worktops, flooring, and wall edges.
Step 3: Choose Colours and Finishes Effectively
Selecting the perfect colour and finish for your kitchen respray is about balancing aesthetic appeal with practical functionality. Your colour choice will dramatically transform the space, influencing both its visual atmosphere and perceived size.
Traditional paint colour strategies emphasise understanding how different hues interact with your kitchen’s natural lighting and existing architectural features. Consider your kitchen’s orientation, window placement, and overall natural light when selecting colours – north-facing kitchens benefit from warmer tones, while south-facing spaces can handle cooler shades.
Your colour selection criteria should include:
- Natural light exposure
- Existing kitchen colour scheme
- Size of kitchen space
- Personal style preferences
- Durability requirements
Colour selection is more than aesthetics – it’s about creating a functional, inviting kitchen environment.
When choosing finishes, prioritise practical considerations. Semi-gloss and satin finishes offer excellent durability and are easier to clean, making them ideal for high-traffic kitchen areas. Matte finishes, while aesthetically pleasing, can be more challenging to maintain and may show cooking splashes more readily.
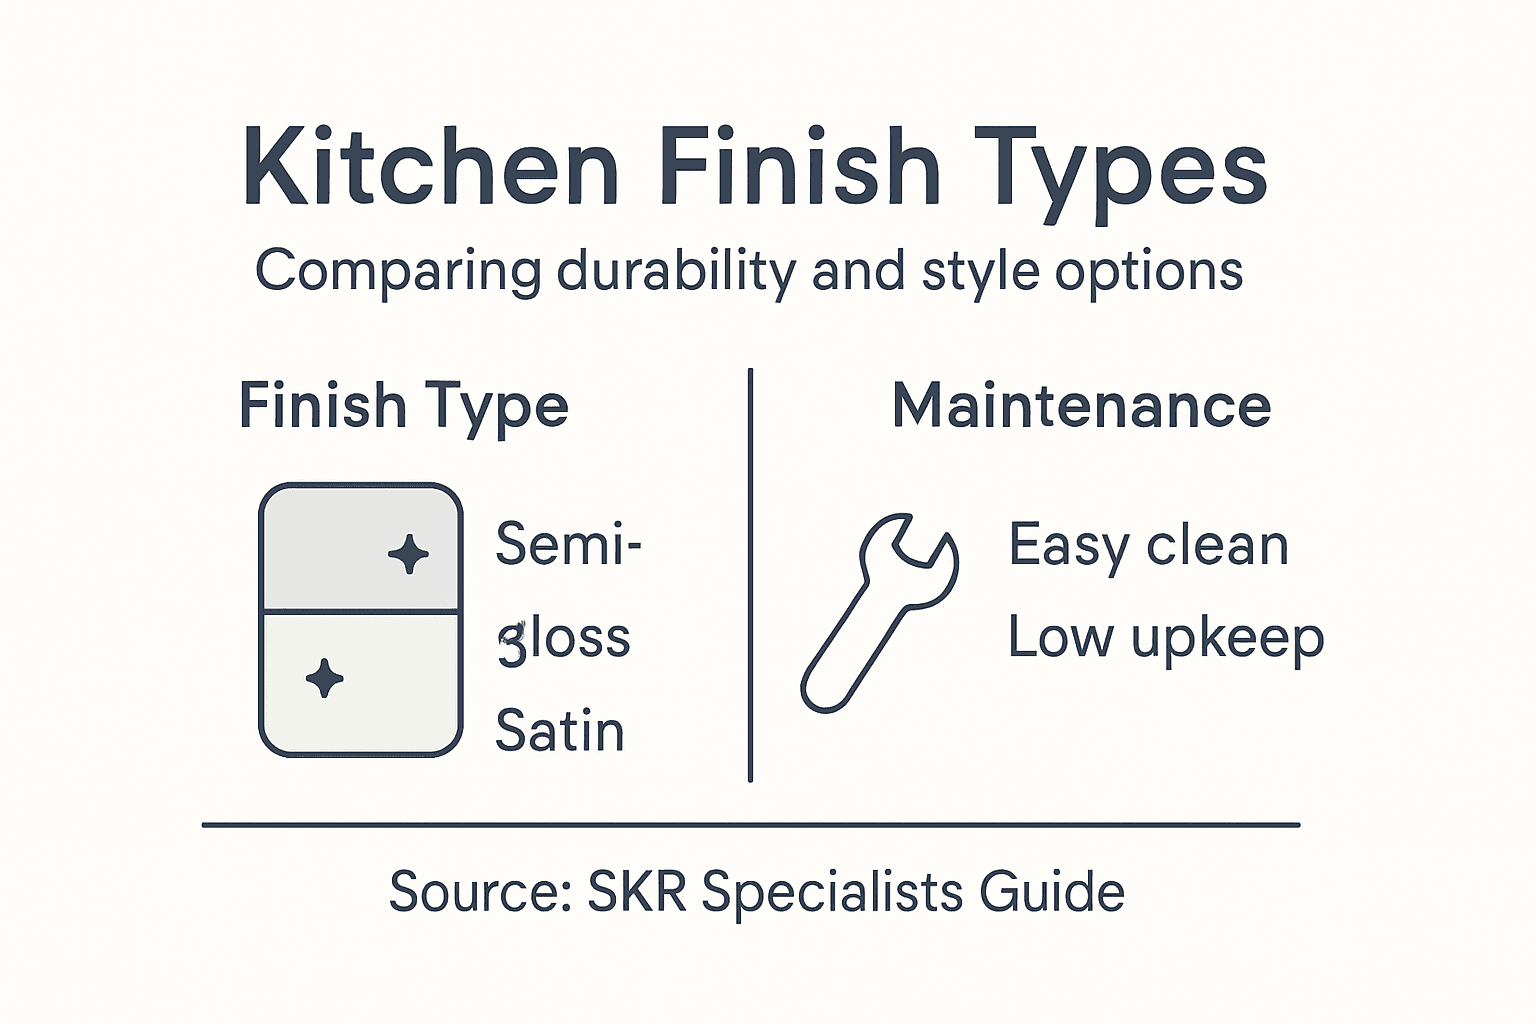
Here is a quick comparison of popular kitchen respray finishes and their benefits:
| Finish Type | Durability | Maintenance Level | Visual Effect |
|---|---|---|---|
| Semi-gloss | Very high | Easy to clean | Subtle shine, modern |
| Satin | High | Wipeable, low effort | Soft sheen, inviting |
| Matte | Moderate | May show stains more | Non-reflective, elegant |
| Gloss | Extremely high | Simple, quick cleaning | Very reflective, bold |
Expert advice: Always test paint colours with large sample patches on your kitchen walls, observing how they look at different times of day before making a final decision.
Step 4: Implement the Kitchen Respray Process
With careful preparation complete, you’re now ready to transform your kitchen through professional respraying. The implementation stage requires precision, patience, and methodical attention to ensure a flawless, long-lasting finish.
Professional kitchen respraying involves multiple intricate stages, beginning with thorough surface preparation. Start by applying a high-quality primer designed to create a smooth base for your chosen paint colour. This critical first layer ensures better paint adhesion and a more uniform final appearance.
Key implementation steps include:
- Applying primer evenly across all surfaces
- Using professional spray equipment for consistent coverage
- Maintaining appropriate room temperature and humidity
- Allowing adequate drying time between coats
- Implementing careful sanding techniques
A professional respray is about precision, not just paint application.
When spraying, maintain consistent motion and distance from surfaces to prevent drips or uneven coverage. Professional painters typically use polyurethane-based paints that offer exceptional durability and a smooth, modern finish. Multiple thin coats are preferable to one thick application, allowing each layer to dry completely before the next.
Expert advice: Invest in professional-grade masking materials and take time to protect surrounding areas meticulously to achieve a truly professional result.
Step 5: Inspect and Maintain Refurbished Surfaces
After completing your kitchen respray, ongoing maintenance becomes crucial to preserve the pristine finish and protect your investment. Your goal is to keep the newly resprayed surfaces looking fresh and professional for years to come.
Regular inspection helps identify potential maintenance needs, allowing you to address minor issues before they become significant problems. Conduct a thorough visual examination of your kitchen surfaces every three to six months, checking for signs of wear, chips, scratches, or discolouration.
Key maintenance considerations include:
- Checking for paint integrity
- Identifying early signs of wear
- Cleaning with appropriate materials
- Addressing scratches or chips promptly
- Monitoring high-traffic areas
Consistent care prevents minor imperfections from becoming costly repairs.
When cleaning resprayed surfaces, use soft, non-abrasive cloths and cleaning products specifically designed for painted finishes. Avoid harsh chemicals or scrubbing tools that might damage the delicate paint layer. For tough stains, opt for gentle, pH-neutral cleaning solutions and always test on a small, inconspicuous area first.
Expert advice: Keep a small touch-up paint kit matching your original respray colour to quickly address minor scratches and maintain a flawless finish.
To help plan your kitchen respray, here is a summary of essential preparation and aftercare tasks:
| Task Category | Example Activities | Impact on Result |
|---|---|---|
| Preparation | Cleaning, sanding, masking | Prevents defects, ensures adhesion |
| Implementation | Applying primer, spray painting | Delivers even, durable finish |
| Maintenance | Gentle cleaning, touch-ups | Prolongs appearance, cost savings |
| Inspection | Checking for chips or wear | Early intervention possible |
Transform Your Kitchen with Expert Respraying Solutions
Struggling with tired surfaces and uneven finishes after assessing your kitchen for refurbishment? The challenges of thorough preparation, precise colour choice, and flawless application can feel overwhelming. Our professional team understands the importance of every step, from meticulous surface cleaning to the perfect semi-gloss or satin finish that blends durability with style.
Discover how to refresh your space without the hassle by exploring our services in the Uncategorized Archives for insights and tips.

Take the first step towards a stunning kitchen transformation today. Visit SKR Specialists for expert advice, professional respraying in situ, and lasting results designed to bring new life to your kitchen. Don’t wait until wear and tear become costly problems act now for a fresh, inviting space you will love.
Frequently Asked Questions
How do I assess my kitchen’s current features before respraying?
Start by examining the condition of your kitchen’s surfaces, materials, and overall layout. Take notes on any damage, wear, or moisture issues, and ensure you document the existing state with photographs.
What preparations should I take before respraying my kitchen?
Prepare your kitchen by clearing all items from surfaces, covering large appliances, and thoroughly cleaning all areas. Additionally, use masking tape and protective sheets to shield surfaces you don’t want painted, ensuring an effective and clean respray job.
How do I choose the right colour and finish for my kitchen respray?
Select a colour based on how your kitchen interacts with natural light and your personal style preferences. Opt for finishes like semi-gloss or satin for durability and easier maintenance, testing samples on your walls to see how they look at different times of day.
What is the correct process for implementing a kitchen respray?
Begin the respray process by applying a high-quality primer, then use professional spray equipment to apply your chosen paint evenly. Ensure you allow adequate drying time between coats, and maintain consistent techniques to prevent drips or uneven coverage.
How can I maintain the newly resprayed surfaces in my kitchen?
To keep resprayed surfaces looking fresh, regularly clean them with soft cloths and pH-neutral cleaning solutions. Address any scratches or chips promptly with a touch-up paint kit to preserve the finish for years to come.
What should I inspect for post-respray, and how often?
Conduct a visual inspection of your kitchen surfaces every three to six months, checking for any signs of wear or damage. This early detection can prevent minor issues from turning into costly repairs, helping you maintain the appearance of your kitchen.