")
Surface Preparation: Ensuring Lasting Kitchen Respray Results
Outdated cabinets can make your kitchen feel tired, even when everything works perfectly. If you live in England and want a fresh look without the mess or cost of full renovation, understanding surface preparation before a kitchen respray is vital. This foundation step involves cleaning, sanding, and repairing each cabinet surface so paint bonds smoothly and lasts. Homeowners will see how proper preparation not only transforms appearance but also prevents peeling and damage over time.
Table of Contents
- Surface Preparation Defined And Key Concepts
- Types Of Kitchen Surfaces And Prep Approaches
- Step-By-Step Surface Preparation Process
- Legal And Safety Standards In UK Resprays
- Common Mistakes And How To Avoid Them
Key Takeaways
| Point | Details |
|---|---|
| Importance of Surface Preparation | Proper preparation accounts for 60 to 70 per cent of the respraying project time, ensuring a durable finish. Without it, new coatings may fail quickly due to poor adhesion. |
| Material-Specific Strategies | Different cabinet materials require tailored preparation techniques to ensure effective adhesion and longevity. Understanding these differences is crucial for a successful respray. |
| Adherence to Safety Standards | Hiring a professional company ensures compliance with UK regulations regarding health and safety, protecting both occupants and workers during the project. |
| Avoiding Common Mistakes | Key mistakes, such as insufficient degreasing and inadequate sanding, can lead to premature finish failure. Prioritising thorough preparation processes mitigates these risks. |
Surface preparation defined and key concepts
Surface preparation is the process of cleaning, repairing, and smoothing your kitchen cabinet surfaces before spraying new finish onto them. Think of it as laying proper foundations before building a house. Without this foundational work, even the best quality respray will fail prematurely, peeling and chipping within months rather than lasting years.
When you decide to respray your kitchen, the preparation stage typically accounts for 60 to 70 per cent of the total project time. This isn’t wasted effort. During preparation, we assess the current condition of your cabinetry, identify problem areas like damage or poor adhesion, and create the ideal surface for the new finish to bond properly. The stages of kitchen respraying begin with this critical phase because a perfectly prepared surface determines whether your respray lasts five years or fifteen.
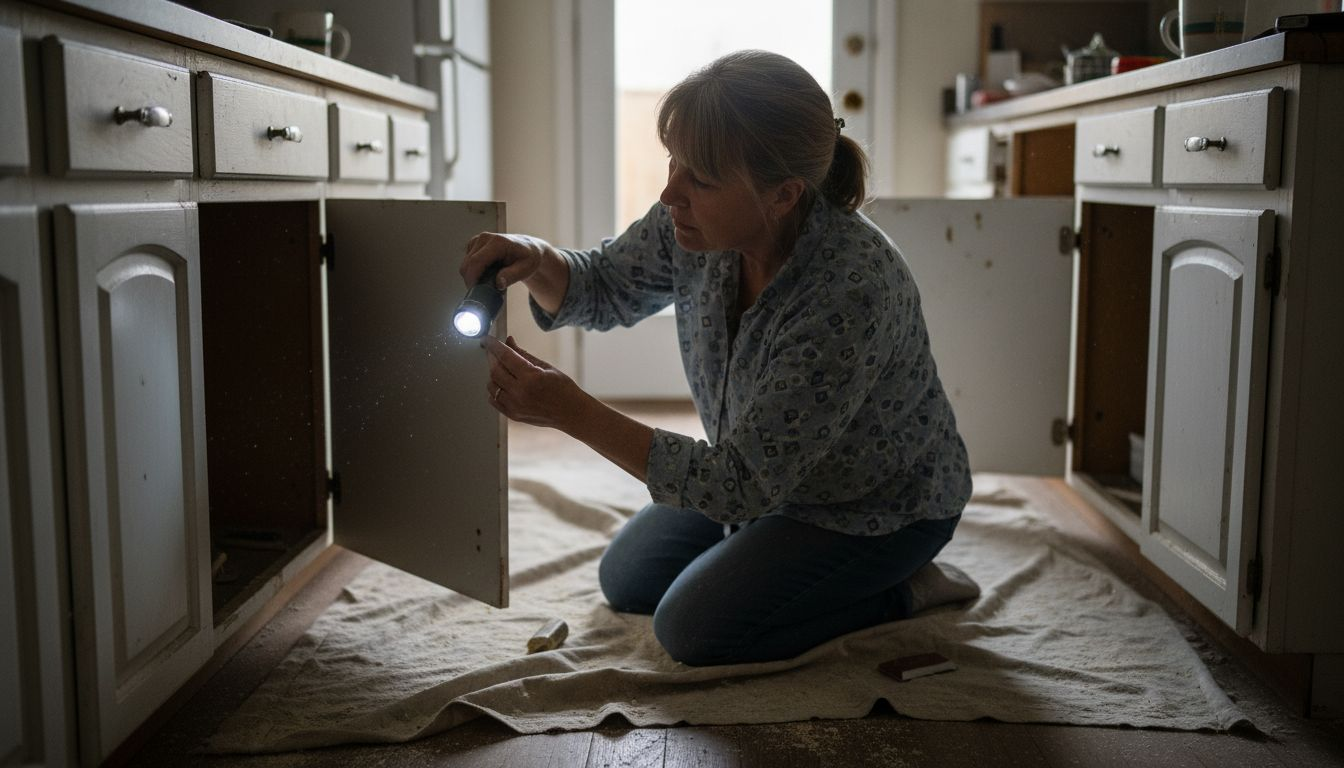
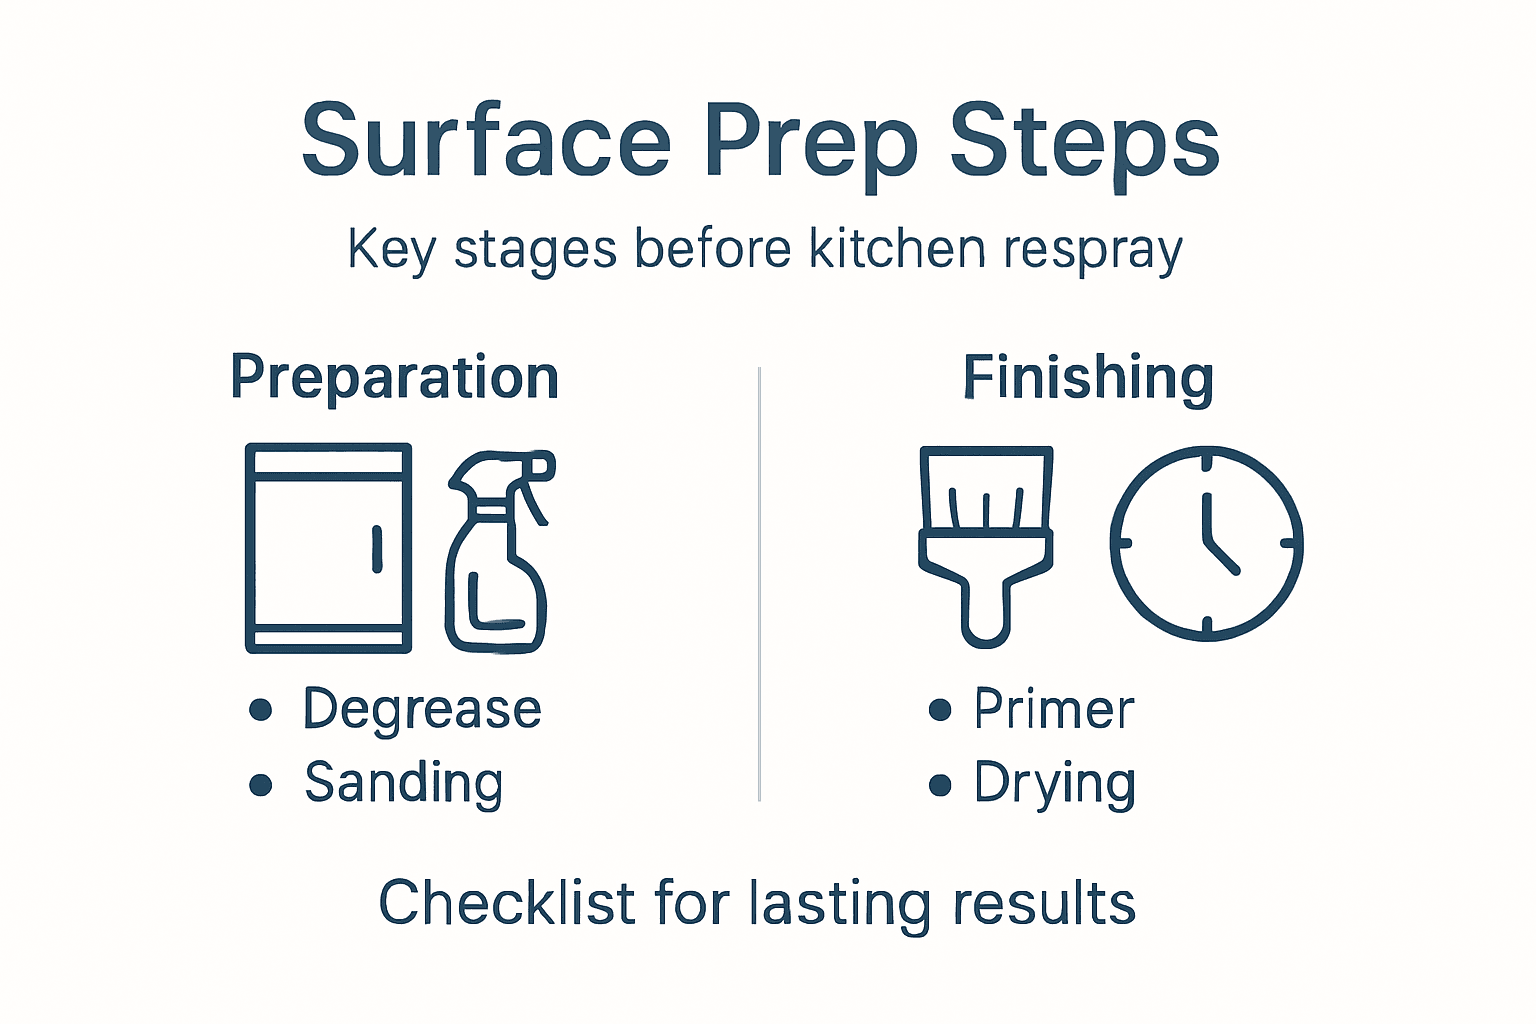
Key concepts within surface preparation include several essential activities. Degreasing removes accumulated kitchen oils and grime that would otherwise prevent paint adhesion. Sanding flattens the existing finish, creates microscopic texture that new coatings can grip onto, and removes any rough patches or varnish imperfections. Filling and stopping addresses dents, gaps, and damage so your final surface appears smooth and uniform. Masking protects areas you don’t want painted, like hinges, drawer runners, and worktops. Each of these elements works together to transform your worn cabinetry into a properly prepared canvas for professional respraying.
The condition of your existing cabinets determines how intensive your preparation becomes. Older kitchens with glossy finishes require more aggressive sanding because high shine surfaces actively repel new paint. Kitchens with minor cosmetic wear need lighter preparation focusing on cleaning and targeted repairs. Cabinets with water damage or staining require specialised treatments to prevent issues resurfacing through the new finish. Understanding what your kitchen needs at this stage prevents surprises later and ensures the respray work proceeds smoothly.
Pro tip: Request your respray company provide a detailed preparation plan before work begins, outlining exactly which surfaces will be sanded, which areas repaired, and how long the process will take. This transparency helps you understand why preparation matters and what to expect during the respraying process.
Types of kitchen surfaces and prep approaches
Your kitchen cabinets are probably not all made from the same material. Most kitchens combine several surface types, each with distinct characteristics and preparation requirements. Understanding what you are actually working with makes all the difference between a respray that lasts a decade and one that fails within two years. Solid wood cabinets, MDF (medium-density fibreboard), laminate, vinyl-wrapped doors, and even metal components all demand tailored preparation strategies because they respond differently to cleaning, sanding, and paint adhesion.
Solid wood requires relatively straightforward preparation. You need light sanding to flatten the existing finish and create a surface that new paint can grip. Wood naturally accepts primer and paint well, but only if oils and grime are removed first through thorough degreasing. The key challenge with wood is that expansion and contraction from humidity changes can cause paint to crack if the preparation shortcuts are taken. MDF behaves similarly but tends to be slightly more forgiving because its uniform composition means fewer grain variations to work around. Laminate surfaces present a different challenge entirely. These plastic-like finishes are slick by design, actively repelling water and moisture, which means they also repel paint unless properly prepared. Specialised primers designed for laminate create a mechanical bond that regular paint simply cannot achieve. Vinyl-wrapped doors sometimes need partial or complete removal of damaged vinyl layers before respraying can begin. Metal surfaces like stainless steel trim or aluminium hinges demand thorough cleaning and, if any rust is present, treatment to prevent corrosion spreading under the new finish.
Here’s how preparation differs across these materials:
- Solid wood – Light to medium sanding, degreasing, prime with wood primer, fill any gaps or damage
- MDF – Light sanding, degreasing, moisture-resistant primer essential, edge sealing recommended
- Laminate – Aggressive degreasing, surface roughening (sanding or abrading), specialised laminate primer required
- Vinyl wrap – Assessment for damage, possible partial removal, degreasing if keeping existing layers
- Metal components – Thorough cleaning, rust treatment if needed, metal primer for adhesion
The preparation approach depends not just on material type but also on the current condition of your surfaces. Cabinets that have been painted before need different preparation than original factory finishes. Water damage changes preparation needs. Grease accumulation from years of cooking means more intensive degreasing. A professional assessment identifies these variables before work begins, preventing costly mistakes later in the process.
To help you choose the right preparation method, here is a comparison of how different kitchen cabinet materials respond to surface prep techniques:
| Material Type | Adhesion Challenges | Best Primer Type | Extra Risk Consideration |
|---|---|---|---|
| Solid Wood | Absorbs primer well | Wood-specific primer | Cracking due to humidity changes |
| MDF | Soaks up moisture | Moisture-resistant primer | Swelling at edges if unsealed |
| Laminate | Repels paint/primer | Laminate-bonding primer | Peeling if surface not abraded |
| Vinyl Wrap | Damage under the wrap | Variable, often multi-type | Residual glue beneath vinyl |
| Metal Components | Rust and corrosion risk | Anti-corrosive primer | Paint bubbling over untreated rust |
Pro tip: Ask your respray technician to specify the exact material composition of your cabinets during the initial survey, as this determines which primers, sanding grits, and degreasing products will actually work on your specific kitchen rather than generic approaches.
Step-by-step surface preparation process
The surface preparation process follows a logical sequence. Each step builds on the previous one, and skipping or rushing any stage compromises the final result. Think of it like preparing a wall for wallpaper. You wouldn’t hang new wallpaper over dirty, peeling old paper. You’d strip it back, clean the surface, repair damage, and let it dry properly before starting fresh. Kitchen respray follows the same principle, just with more precision and specific techniques.
Here is the actual workflow that professionals use:
-
Initial inspection and assessment – Examine your cabinets for damage, water stains, grease buildup, and existing finish condition. This determines how aggressive your preparation needs to be.
-
Remove doors and hardware – Take off cabinet doors, drawer fronts, and all removable hardware like handles, hinges, and shelf supports. This exposes all surfaces that need treating and prevents paint ending up on components you do not want painted.
-
Clean and degrease thoroughly – Use appropriate degreasing solutions to remove accumulated kitchen oils, dust, and grime. This is non-negotiable because paint will not bond to a greasy surface, no matter how well you sand. Pay special attention to areas around the cooker.
-
Mask off protected areas – Apply painter’s tape and protective coverings to edges, hinges, runner channels, and any surfaces that should remain paint-free. This step prevents overspray and accidental coverage.
-
Sand all surfaces – Surface preparation ensures paint bonds properly to your cabinets. Light sanding flattens the existing finish and creates microscopic texture for new coatings to grip. The sanding grit depends on your material type and existing finish condition. You are removing varnish, gloss, and any loose paint whilst smoothing the substrate.
-
Fill and stop defects – Use appropriate fillers and stopping compounds to address dents, gaps, and damage. Sand these repairs smooth once dry so they blend with the surrounding surface.
-
Final clean – Wipe down all surfaces with a tack cloth to remove dust created during sanding. This critical step prevents dust particles being trapped under your new finish.
-
Prime all surfaces – Apply a primer suited to your cabinet material type. This creates a foundation that paint clings to and helps hide stains or discolouration from the original finish.
These stages work together. You cannot achieve a professional, long-lasting respray if you compress or skip any of them. The temptation exists to rush, particularly step three and seven where results are invisible. But those are exactly where quality is determined.
Pro tip: Allow adequate drying time between each stage, as moisture trapped under subsequent coats causes adhesion failure and peeling months later.
Legal and safety standards in UK resprays
When you hire a professional respray company in the United Kingdom, you are not just paying for a cosmetic update. You are paying for compliance with specific legal and safety standards that protect your home, your family, and the technicians doing the work. Understanding these requirements helps you know whether a company is operating legitimately and whether corners are being cut on your project.
The United Kingdom applies several regulatory frameworks to kitchen respraying work. The Control of Substances Hazardous to Health Regulations 2002 (COSHH) governs how hazardous materials like paint solvents and spray equipment are handled in domestic environments. Professional resprayers must assess risks from chemical exposure, provide adequate ventilation, and ensure proper personal protective equipment is used throughout the process. Water Regulations 2016 may apply if work affects plumbing or drainage in your kitchen. Environmental Protection Act 1990 requirements govern how waste materials, including paint cans and solvent-soaked materials, are disposed of responsibly. Building Regulations Part L applies to certain renovation work, though standard respraying typically falls outside these requirements unless you are making wider modifications to your kitchen.
Safety considerations extend beyond legal compliance. Spray painting involves inhalation risks, skin contact hazards, and fire risks from flammable solvents. Professional companies use enclosed spray booths or controlled spray environments, maintain adequate ventilation, and apply protective coatings properly to prevent fumes entering living spaces. Kitchen respray safety minimising health risks matters when you are living in your home during the work. Reputable operators will discuss ventilation plans with you before starting, explain what protective measures are in place, and outline any temporary restrictions on kitchen use during the respray process and curing period.
Quality standards and guarantees provide practical protection. Most professional kitchen respray companies offer warranties covering adhesion failure, peeling, and surface defects for specified periods, typically ranging from two to five years. These warranties only mean something if the company is established, traceable, and likely to still operate when you need to claim. Ask about their track record, customer references, insurance coverage, and whether they are registered with relevant trade bodies. Cheaper quotes sometimes reflect corners cut on preparation, ventilation, or material quality. The cheapest option frequently becomes the most expensive once you factor in failed resprays, health concerns, or environmental cleanup costs.
Pro tip: Request written documentation of all safety measures, compliance certifications, and warranty terms before work begins, then retain copies for your records in case issues arise after the respray is complete.
Common mistakes and how to avoid them
Most kitchen respray failures trace back to preparation shortcuts rather than poor spraying technique. The spraying part is actually straightforward once your surfaces are properly prepared. But that preparation stage is where homeowners and inexperienced operators make costly errors. Understanding these mistakes before they happen on your kitchen gives you the knowledge to spot warning signs and demand better standards from whoever you hire.
Skipping or rushing degreasing stands as the number one preparation mistake. Accumulated kitchen grease forms an invisible barrier that paint simply cannot penetrate. You can sand perfectly, prime correctly, and spray beautifully, but if grease remains underneath, the paint will peel off in sheets within months. Many DIY attempts fail here because people assume that wiping cabinets with a cloth counts as degreasing. It does not. Professional degreasing involves specialist solvents applied systematically to dissolve oils, not just surface dust. If your respray company suggests they can complete degreasing and preparation in a single day, question whether they are being thorough or cutting corners.
Inadequate sanding is the second major problem. Some operators sand lightly to save time, believing primer will bridge small imperfections. Primer does not work that way. Old glossy finishes need sufficient sanding to remove the shine and create mechanical texture. Inconsistent sanding leaves some areas glossy and others dull, causing patchy paint adhesion. You end up with peeling in certain spots whilst other areas hold fine. The correct approach involves sanding with appropriate grits progressively, starting coarser and finishing finer.
Skipping primer or using the wrong primer type causes adhesion failure. Some budget resprayers apply paint directly onto sanded surfaces without primer, claiming it saves cost and time. Primer serves a specific purpose. It bonds to the substrate material and accepts paint adhesion in a way bare wood or laminate cannot achieve alone. Different materials need different primers. Using a generic primer on laminate cabinets will fail. Using wood primer on MDF boards will fail. Matching primer to your specific cabinet material is not optional.
Insufficient drying time between coats allows moisture and solvents to remain trapped, softening the paint film and causing adhesion problems later. Rushing the process by applying coats too quickly creates cosmetic issues like runs, sags, and uneven coverage. Kitchen cabinet prepping requires patience at every stage, especially during drying periods. Professional operators allow proper curing time as specified by paint manufacturers, typically 24 hours between coats and 7 to 14 days of full curing before your kitchen is ready for normal use.
Poor masking protection leaves paint where it should not be. Proper masking prevents overspray on hinges, runners, and worktops. Inadequate masking means spraying into drawer mechanisms or across edges, creating cleanup nightmares and potential functionality issues if paint gets into moving parts.
Here is a summary table outlining common kitchen respray preparation mistakes and their typical long-term impact:
| Mistake | Common Outcome | Long-Term Consequence |
|---|---|---|
| Incomplete degreasing | Immediate adhesion failure | Paint peeling within months |
| Insufficient sanding | Patchy coverage | Uneven wear and visible defects |
| Wrong or missing primer | Early flaking or bubbling | Full repaint often needed |
| Rushed drying between coats | Soft finish and marks | Reduced durability, faster damage |
| Poor masking | Paint on unwanted surfaces | Mechanical issues, costly clean-up |
Pro tip: Ask your respray company to explain their degreasing method, sanding approach, primer selection, and drying time schedule before you commit, then verify they follow this plan during the actual work.
Ensure a Flawless Kitchen Respray with Expert Surface Preparation
The key to a long-lasting and beautiful kitchen respray lies in meticulous surface preparation. If you want to avoid costly peeling, cracking, or uneven finishes caused by inadequate degreasing, sanding, or priming, trust professionals who understand these crucial steps. At SKR Specialists, we provide in-situ kitchen resprays that prioritise deep cleaning, tailored sanding, and the perfect primer for your cabinet materials. Experience peace of mind knowing your kitchen will look stunning for years to come.

Ready to transform your kitchen with a respray that truly lasts? Discover how our professional kitchen respray service applies industry best practices from surface preparation to final finishing. Do not settle for shortcuts that lead to premature failure. Contact us today to arrange a detailed assessment and be confident your kitchen deserves the highest standards of preparation and care. Visit our main site now and take the first step towards a flawless kitchen refresh.
Frequently Asked Questions
What is surface preparation in kitchen respraying?
Surface preparation is the process of cleaning, repairing, and smoothing kitchen cabinet surfaces prior to applying a new finish. It is crucial for ensuring that the respray adheres properly and lasts for many years.
Why is degreasing important in the surface preparation process?
Degreasing is essential because accumulated kitchen oils and grime can prevent paint from adhering. If degreasing is skipped or done inadequately, it can lead to immediate adhesion failure and peeling of the new paint shortly after application.
How does the type of cabinet material affect the preparation process?
Different materials such as solid wood, MDF, laminate, and vinyl require tailored preparation techniques. For example, laminate needs aggressive degreasing and a specialised primer, while solid wood requires light sanding and a wood-specific primer for optimal adhesion.
What steps are involved in the surface preparation process for kitchen cabinets?
The surface preparation process typically involves: 1) Initial inspection and assessment, 2) Removal of doors and hardware, 3) Thorough cleaning and degreasing, 4) Masking off protected areas, 5) Sanding all surfaces, 6) Filling and stopping defects, 7) Final cleaning, and 8) Priming all surfaces.