")
Kitchen Unit Painting Tutorial for a Flawless Finish
A fresh coat of paint on your kitchen units can make the entire space feel brand new. Yet, skipping key preparation steps almost always leads to disappointment. Industry experts report that poor prep work causes up to 60 percent of paint finish issues in kitchens. Taking time to clean, repair, prime, and paint with care ensures your hard work pays off. This guide walks you through each step to help you achieve impressive, lasting results you will love.
Table of Contents
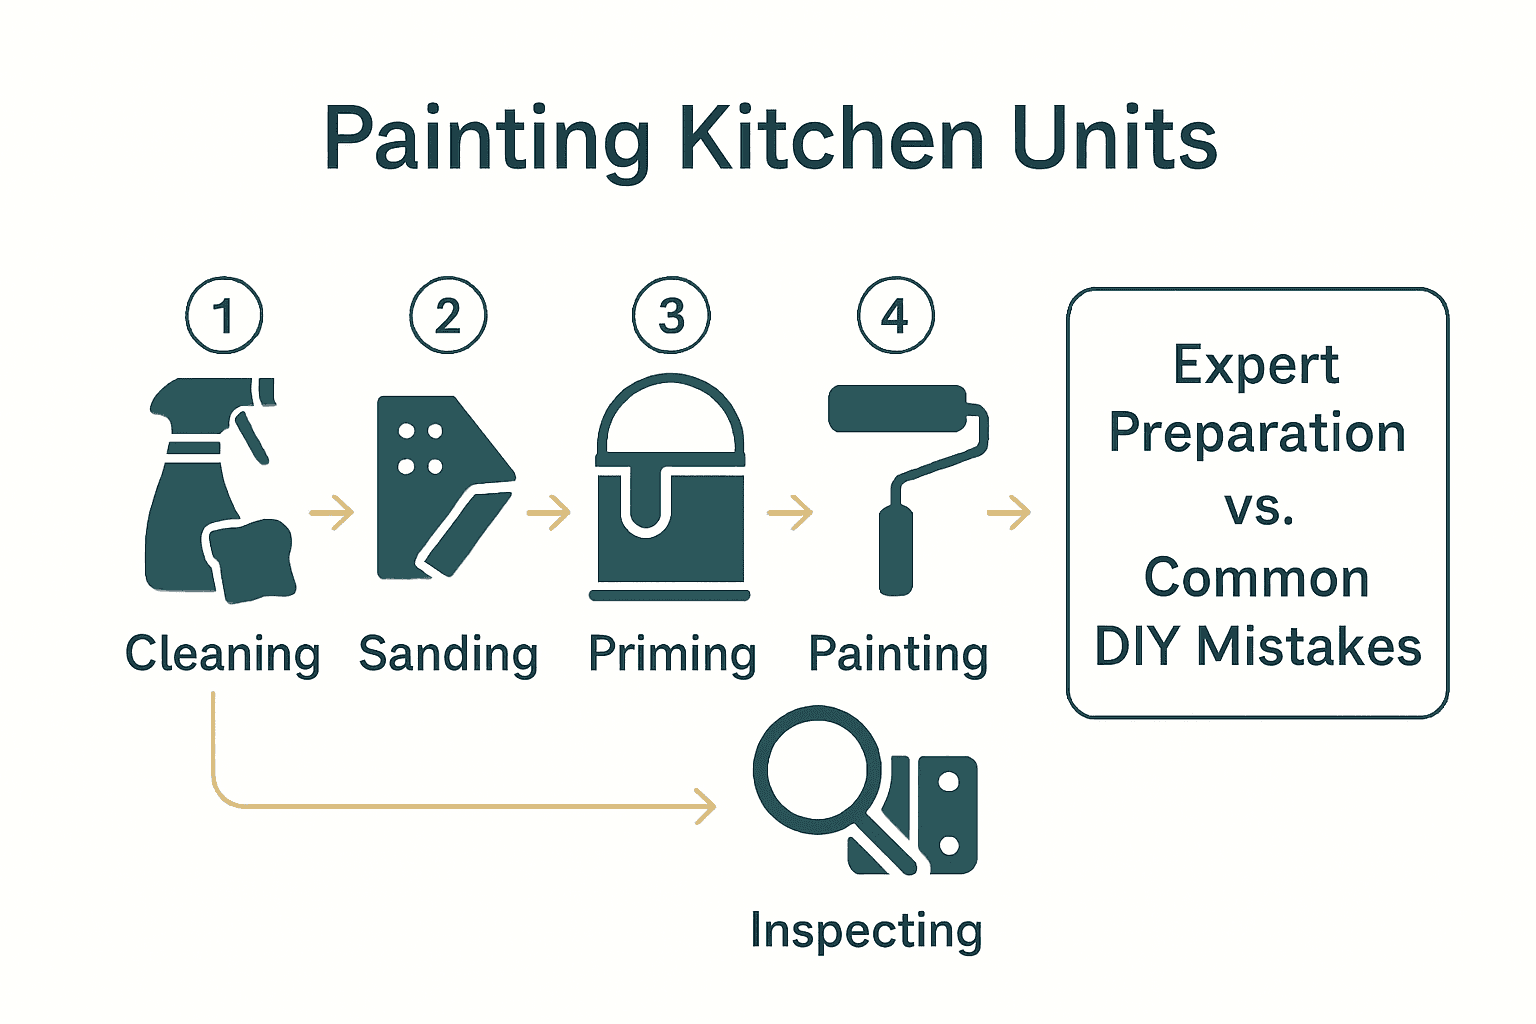
- Step 1: Clear and Prepare Kitchen Units
- Step 2: Repair and Sand All Surfaces
- Step 3: Apply Primer to Kitchen Units
- Step 4: Paint Kitchen Units with Professional Technique
- Step 5: Inspect and Reassemble for a Smooth Finish
Quick Summary
| Key Point | Explanation |
|---|---|
| 1. Thoroughly clean surfaces first | Use a multi-purpose cleaner and sugar soap to remove grease and dirt before painting for better adhesion. |
| 2. Sand surfaces to ensure smoothness | Lightly sand with 100-120 grit sandpaper to eliminate imperfections on wood and previously painted surfaces. |
| 3. Use appropriate primer for surfaces | Select a suitable primer for wood or laminate to enhance paint adhesion and prevent bleed through. |
| 4. Apply multiple thin paint layers | Use thin coats for a smooth finish, allowing each layer to dry for at least 12 hours before adding the next. |
| 5. Inspect and reassemble carefully | Check for imperfections post-paint, touch up as needed, and ensure correct reassembly for optimal function. |
Step 1: Clear and Prepare Kitchen Units
Clearing and preparing kitchen units is the crucial first step towards achieving a professional paint finish. This preparation stage sets the foundation for a smooth and long lasting respray that will transform your kitchen’s appearance.
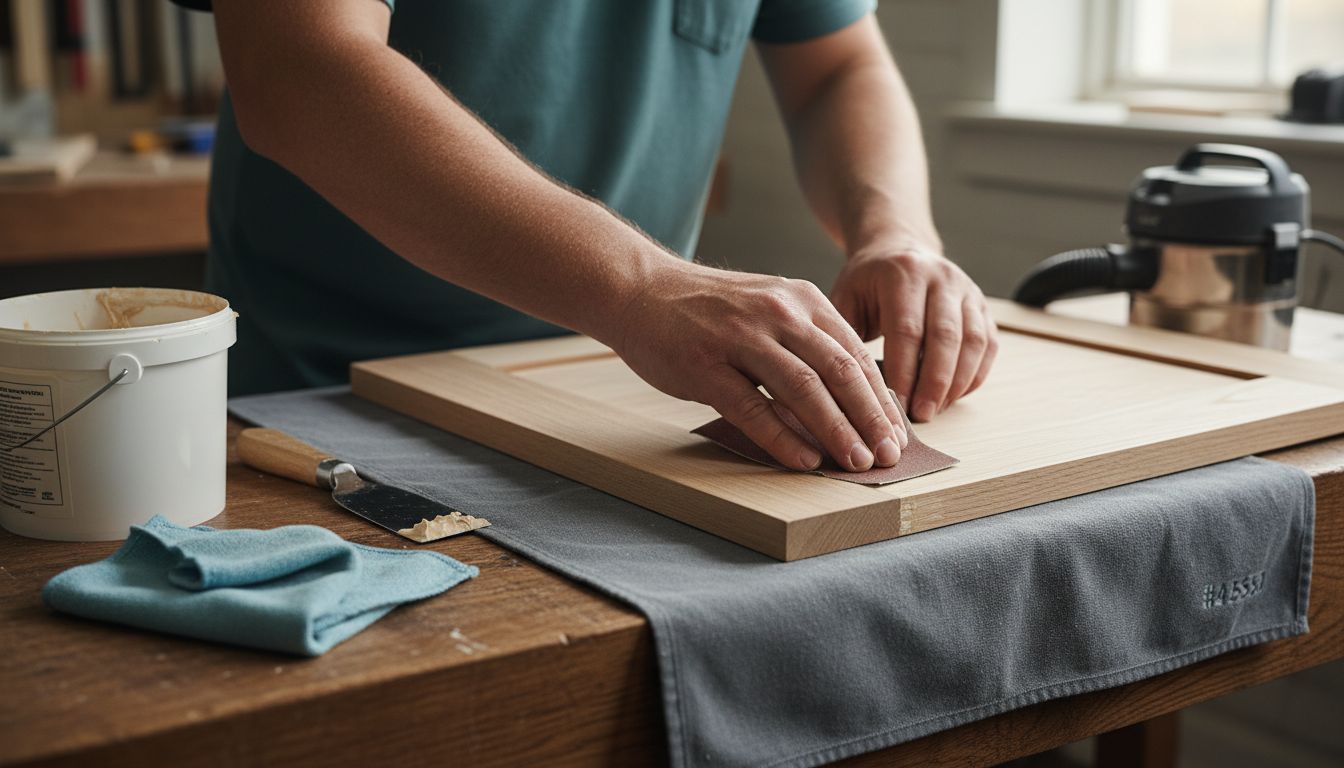
Begin by thoroughly cleaning all kitchen unit surfaces using a multi purpose cleaner or degreaser. According to diydoctor.org.uk, you should follow this cleaning with sugar soap to eliminate all grease and residual dirt. Allow the surfaces to dry completely before moving forward with painting. For wooden or previously painted surfaces, lightly sand using 100120 grit sandpaper to smooth out any imperfections. After sanding, wipe the surfaces with a damp cloth to remove dust particles.
Careful preparation also involves removing all handles and hinges. Store these components safely to prevent loss. Use masking tape to protect areas you do not want to paint. As a practical tip from nrla.org.uk, consider numbering your doors when removing them to ensure correct reassembly. Pro tip: You can remove and paint one unit at a time to maintain kitchen functionality during the renovation process.
Once your kitchen units are clean, sanded, and prepped, you are ready to move on to the priming stage of your kitchen respray project.
Step 2: Repair and Sand All Surfaces
Repairing and sanding kitchen surfaces is a critical step that ensures a smooth professional finish for your kitchen unit painting project. Proper surface preparation will help the new paint adhere correctly and create a flawless final appearance.
According to diydoctor.org.uk, wooden or previously painted surfaces require careful sanding with 100120 grit sandpaper to smooth out any imperfections. Pay special attention to decorative elements and uneven areas. Take extra time to sand carefully around intricate details and edges. After sanding, use a damp cloth to wipe away all dust particles thoroughly.
For laminate surfaces, the approach differs slightly. nrla.org.uk recommends cleaning is often sufficient without extensive sanding. After cleaning with sugar soap, use a dust cloth to remove any remaining particles. Pro tip: Always check the surface condition before sanding to avoid unnecessary damage. If you notice deep scratches or significant wear, consider using wood filler to create a smooth base before painting.
With your surfaces now repaired and sanded, you are ready to move forward to the priming stage of your kitchen unit transformation.
Step 3: Apply Primer to Kitchen Units
Applying primer is a crucial step in achieving a professional and long lasting finish for your kitchen unit painting project. The right primer will ensure better paint adhesion and create a smooth surface for your final colour.
According to diydoctor.org.uk, the primer selection depends on your surface type. For wooden and timber surfaces, use a dedicated timber primer. If you are working with laminate or melamine surfaces, opt for a specific melamine primer. When applying primer, one coat is typically sufficient for light existing colours. However, for dark or glossy surfaces, apply two coats to prevent colour bleed through. After the first coat, lightly sand the surface, remove any dust, and then apply the second coat.
When applying primer, nrla.org.uk recommends stirring the primer thoroughly before use. Start by painting any detailed areas first, using a paint roller with even pressure to ensure a smooth application. Pro tip: Allow each coat to dry for at least 12 hours before applying the next layer. This patience will help you achieve a more professional and durable finish.
With your primer applied and dried, you are now ready to move on to the exciting stage of applying your chosen paint colour to transform your kitchen units.
Step 4: Paint Kitchen Units with Professional Technique
Painting kitchen units requires precision and patience to achieve a professional finish that transforms your kitchen’s appearance. The right technique can make the difference between an amateur DIY project and a stunning kitchen renovation.
According to diydoctor.org.uk, after your primer has dried, lightly sand the surface to smooth out any imperfections and remove dust. Apply at least two thin layers of top coat, allowing each coat to dry completely before applying the next. Use a small amount of paint on your brush to prevent clumps and runs, ensuring a smooth and even finish. The key is applying multiple thin coats rather than one thick layer that might create an uneven surface.
nrla.org.uk recommends stirring your paint thoroughly before beginning. Start by painting detailed areas first, then use a paint roller with consistent pressure to achieve a uniform application. Pro tip: Always paint in a well ventilated area and use smooth even strokes to prevent visible brush marks. Allow each coat to dry for at least 12 hours to ensure a professional looking result.
With your kitchen units now beautifully painted, you are ready for the final steps of reassembly and admiring your transformed kitchen space.
Step 5: Inspect and Reassemble for a Smooth Finish
The final stage of your kitchen unit painting project is crucial for achieving a professional and polished look. Careful inspection and precise reassembly will ensure your newly painted units not only look stunning but function perfectly.
According to diydoctor.org.uk, after completing the painting process and allowing all coats to dry thoroughly, carefully inspect the units for any imperfections. Look closely for any uneven areas, drips, or minor inconsistencies. If you spot any small imperfections, lightly sand those specific areas and perform a quick touch up to ensure a flawless finish. This meticulous attention to detail separates a professional looking renovation from an amateur attempt.
nrla.org.uk recommends taking extra care when reattaching doors to the cabinets. Refer back to the numbers you assigned during removal to guarantee each door is positioned correctly. Pro tip: Work slowly and methodically when reinstalling handles and hinges. Check that each door opens and closes smoothly and aligns perfectly with adjacent units.
 A careful reassembly will showcase the effort you have put into transforming your kitchen units.
With your kitchen units now beautifully painted and reassembled, step back and admire the remarkable transformation you have achieved through your hard work and attention to detail.
Bring Your Kitchen Transformation to Life with Expert Respray Services
Taking on a kitchen unit painting project yourself can be rewarding but challenging. From thorough preparation, careful sanding, and priming to applying multiple paint layers with precision, the process demands patience and skill. If you have started this journey and want to ensure a flawless and durable finish without the stress of reassembly and touch ups, professional help can make all the difference. Achieving that perfect kitchen look involves attention to detail that our expertise guarantees.

Discover how our professional kitchen respray service, delivered in-situ for your convenience, can save you time and provide exceptional results. Visit our Uncategorized Archives to learn more about expert approaches and then take the next step by exploring our main site at SKR Specialists. Let us transform your kitchen units with a flawless finish that lasts. Contact us today to start your stress free kitchen makeover.
Frequently Asked Questions
How do I clean kitchen units before painting?
Begin by using a multi-purpose cleaner or degreaser to thoroughly clean all surfaces. Follow this with sugar soap to eliminate grease and dirt, allowing the surfaces to dry completely before proceeding with subsequent steps.
What type of sandpaper should I use for preparing kitchen units?
Use 100-120 grit sandpaper for wooden or previously painted surfaces to smooth out imperfections. Lightly sand each area and then wipe with a damp cloth to remove dust before applying primer.
How many coats of primer do I need for laminate kitchen units?
For laminate surfaces, one coat of melamine primer is typically adequate for light colors. For dark or glossy surfaces, apply two coats, sanding lightly between them to ensure optimal adhesion and finish.
What is the best technique for painting kitchen units?
Apply multiple thin layers of paint using consistent pressure with a roller after the primer is dry. Allow each coat to dry for at least 12 hours to achieve a uniform and professional finish.
How can I ensure a smooth reassembly of painted kitchen units?
Carefully inspect your painted units for imperfections after drying and perform touch-ups if needed. Number the doors prior to removal for easy reassembly, and take your time to check that each door aligns properly after installation.
What should I do if I notice imperfections after painting?
If you find any uneven areas or drips, lightly sand those specific spots and perform a touch-up with paint. This attention to detail will help create a flawless final appearance for your kitchen units.