")
Kitchen Spray Painting Tutorial for a Fresh New Look
More than half of British homeowners are searching for creative ways to update their kitchens without spending a fortune. Tired cabinets and dated surfaces can make your kitchen feel old long before you are ready for a full remodel. With the right DIY spray painting techniques, you can achieve a fresh, professional look on a realistic budget. This guide reveals step-by-step methods to help you confidently transform your kitchen using proven, practical advice.
Table of Contents
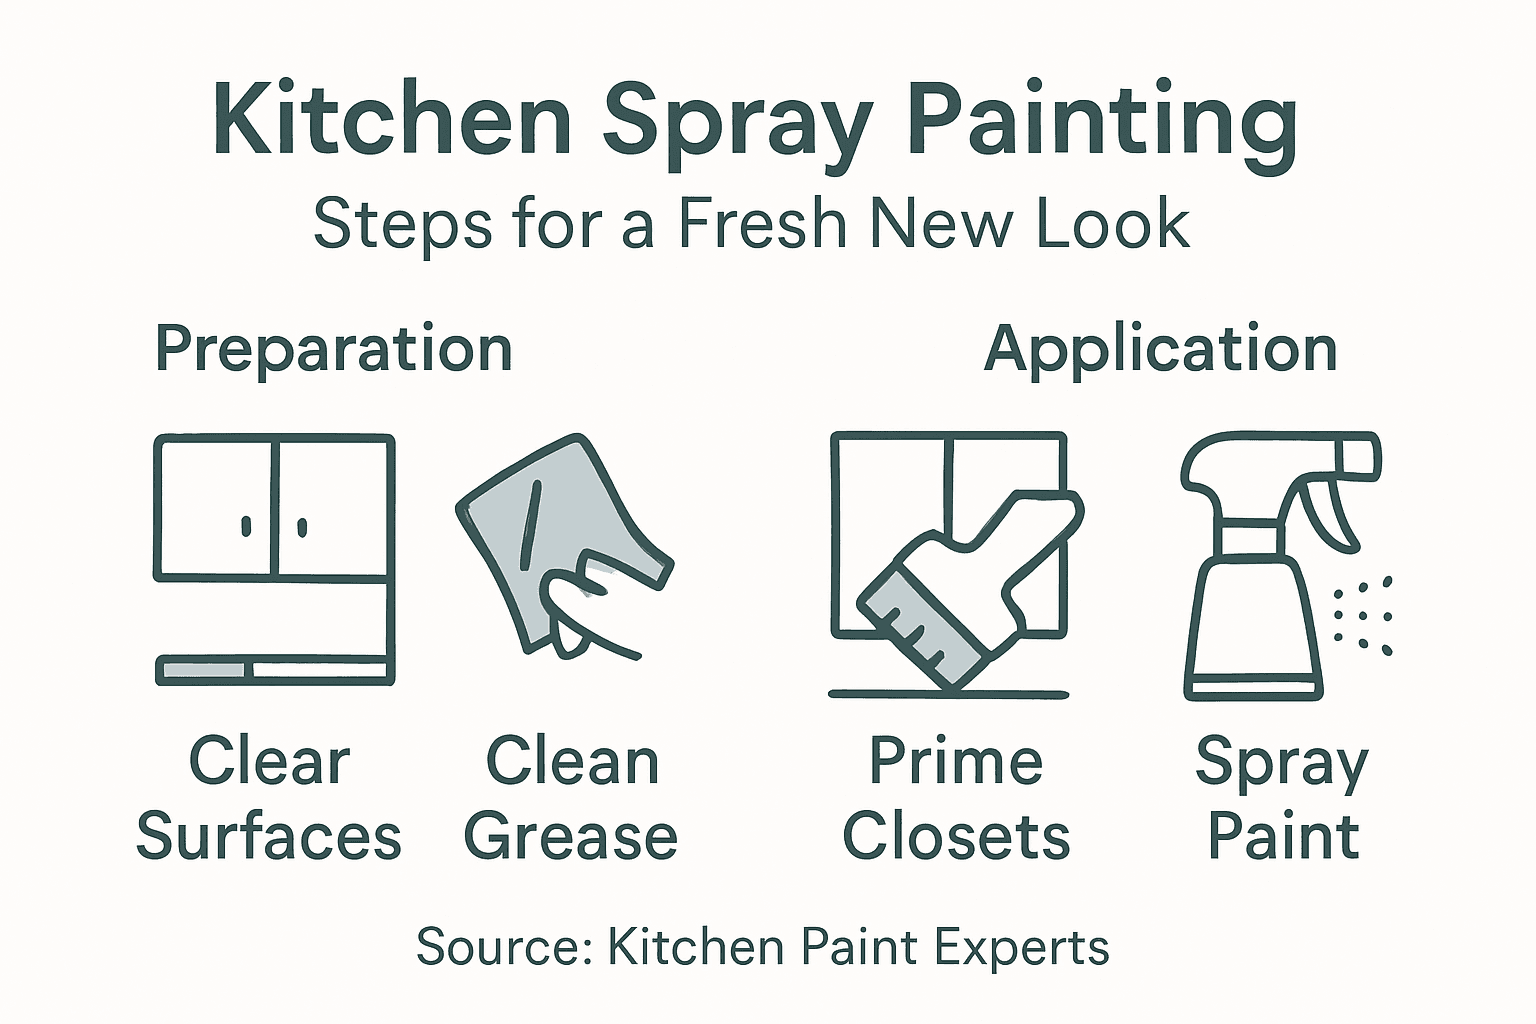
- Step 1: Prepare and Protect Your Kitchen Surfaces
- Step 2: Choose and Mix Kitchen Safe Spray Paint
- Step 3: Apply Primer for a Smooth Spray Finish
- Step 4: Spray Paint Cabinetry and Doors Evenly
- Step 5: Inspect Surfaces and Ensure Painting Quality
Quick Summary
| Key Point | Explanation |
|---|---|
| 1. Clear and Protect Surfaces | Thoroughly clear and cover surfaces with drop cloths to prevent paint drips and overspray during your spray painting project. |
| 2. Use Kitchen-Safe Spray Paint | Opt for water-based spray paints designed for kitchens, as they offer durability and are easier to clean. |
| 3. Apply Quality Primer | Use a high-quality primer for better adhesion and a smoother finish, ensuring to apply it in multiple thin coats. |
| 4. Master Even Spray Technique | Maintain a steady distance of 20 cm while spraying, using smooth, overlapping strokes for a professional finish. |
| 5. Inspect Finished Surfaces Carefully | Conduct a thorough inspection under good lighting to identify and correct imperfections after the paint dries completely. |
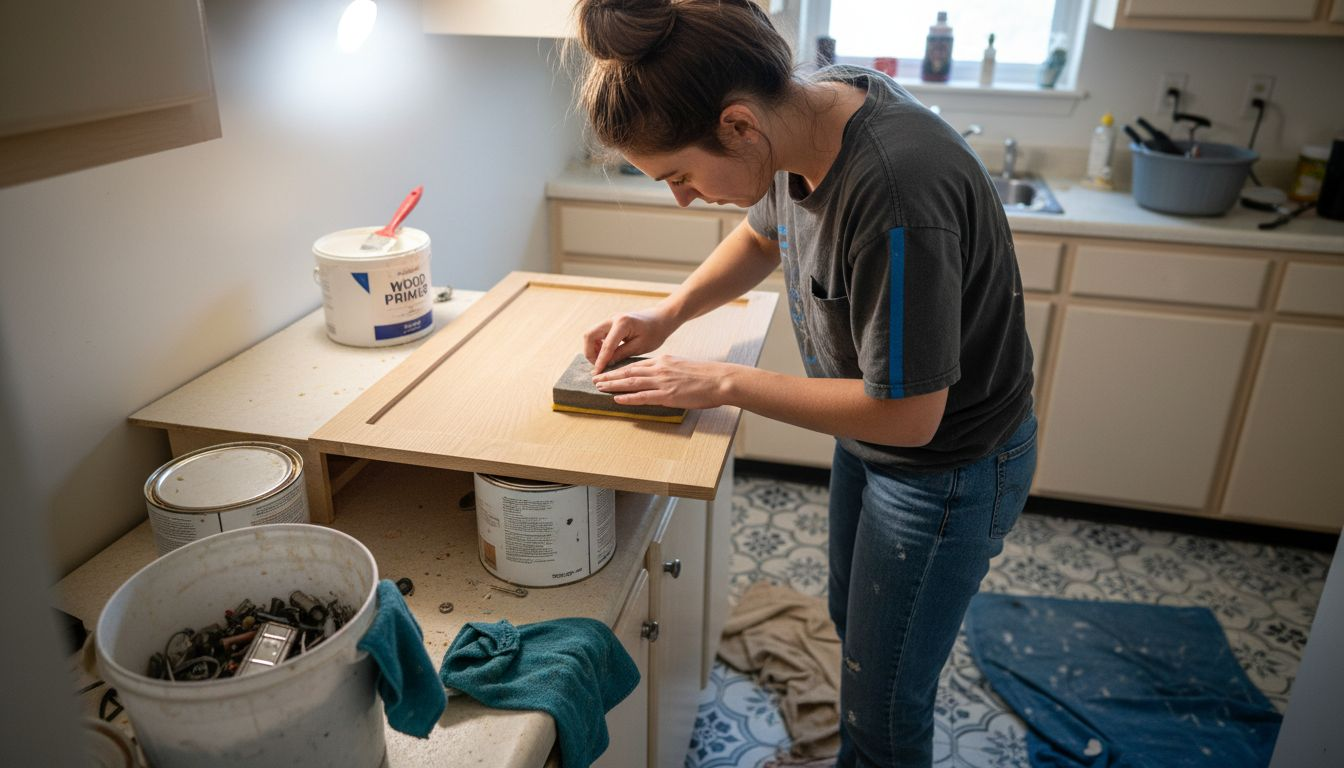
Step 1: Prepare and Protect Your Kitchen Surfaces
Preparing your kitchen surfaces is the foundation for a successful spray painting project that will transform your space with professional results. Before you begin, you will need to create an environment that ensures smooth application and protects surrounding areas from unwanted paint overspray.
Start by completely clearing your kitchen countertops and removing any movable items like small appliances, utensil holders, and decorative elements. Cover your flooring with heavy drop cloths or plastic sheeting, ensuring complete protection from potential paint drips. Use painter’s masking tape to secure these protective coverings and create clean edges. Kitchen cabinet prepping techniques are critical for achieving a professional finish, so pay special attention to taping off areas like edges, skirting boards, and electrical outlets.
Next, thoroughly clean all surfaces you plan to spray paint. Use a degreasing cleaner to remove accumulated cooking residue, grease, and dirt. Wipe down cabinets, worktops, and walls with a microfibre cloth, ensuring no dust or grime remains. For best results, follow this with a light sanding to create a slightly rough surface that helps paint adhere more effectively. This preparation stage is crucial for preventing paint peeling or uneven coverage in the future.
Top tip: Use white spirits on a clean cloth for a final surface wipe to eliminate any remaining oils or residues that might compromise your paint adhesion.
Step 2: Choose and Mix Kitchen Safe Spray Paint
Selecting the right spray paint is crucial for achieving a durable and professional looking kitchen makeover. Your choice of paint will determine not just the aesthetic appeal but also the long term performance of your kitchen surfaces. Kitchen spray painting techniques require careful consideration of paint type and application method.
Opt for water based spray paints specifically designed for kitchen environments. These formulations offer superior durability and resistance to moisture heat and frequent cleaning. Look for specialised kitchen enamel paints that provide a smooth washable finish capable of withstanding daily wear and tear. When mixing your paint ensure you follow manufacturer instructions precisely water based paints typically require gentle stirring to maintain an even consistency without introducing air bubbles. Test the paint viscosity by conducting a small sample spray on a piece of cardboard to confirm smooth application and colour accuracy.
Prepare your workspace with adequate ventilation and protective equipment such as gloves respirator mask and safety goggles. Choose a temperature controlled environment around 20 degrees Celsius with low humidity for optimal paint performance. This will help prevent uneven drying and ensure a professional grade finish that looks seamless and sophisticated.
The table below summarises key differences between water-based and solvent-based kitchen spray paints:
| Feature | Water-Based Paint | Solvent-Based Paint |
|---|---|---|
| Odour | Low odour | Strong odour |
| Drying time | Faster (15-20 min/coat) | Slower (up to 1 hour/coat) |
| Cleaning method | Soap and water | Solvents required |
| Environmental impact | More eco-friendly | Less eco-friendly |
| Suitability | Ideal for kitchens | Suitable for industrial use |
Top tip: Always purchase slightly more paint than your initial calculations suggest to account for potential additional coats or unexpected touch ups.
Step 3: Apply Primer for a Smooth Spray Finish
Priming is the critical foundation that transforms your kitchen cabinet painting project from amateur to professional. By creating a uniform base layer, you ensure better paint adhesion and a flawless final appearance. Kitchen spray finishes depend entirely on this crucial preparatory step.
Begin by removing all cabinet doors and hardware completely. Sand the surfaces gently using fine grit sandpaper to create a slightly rough texture that helps the primer grip effectively. Choose a high quality primer specifically formulated for kitchen surfaces which will block existing stains and provide a smooth uniform base. Apply the primer using smooth controlled spray motions holding the spray can approximately 20 centimetres from the surface. Use sweeping side to side movements with slight overlap between passes to ensure complete coverage without creating thick uneven areas. Allow each coat to dry thoroughly according to manufacturer instructions typically waiting around 15 to 20 minutes between applications.
Work in a well ventilated area with consistent temperature around 20 degrees Celsius. Use drop cloths to protect surrounding surfaces and wear protective equipment including safety glasses and a respirator mask. Multiple thin coats will always produce superior results compared to one thick application. Pay special attention to edges corners and any detailed areas which might require more careful coverage.
Top tip: Test your primer and spray technique on a hidden section or spare piece of material to perfect your approach before tackling the entire surface.
Step 4: Spray Paint Cabinetry and Doors Evenly
Spray painting your kitchen cabinetry requires precision technique to achieve a professional looking finish that transforms your entire kitchen space. Mastering the art of even application will ensure a smooth factory like result that looks impressive and enduring. Kitchen cabinet makeover steps are critical to understanding the intricate process of spray painting.
Prepare your workspace by laying out clean drop cloths and positioning cabinet doors on raised supports to allow complete access to all surfaces. Select a high quality spray paint designed specifically for kitchen environments and ensure your equipment includes a turbine powered paint sprayer for consistent coverage. Hold the spray device approximately 20 centimetres from the surface using smooth sweeping motions that overlap slightly with each pass. Start at one edge and move continuously across the surface maintaining a steady distance and speed to prevent uneven thickness or drip formations. Apply multiple thin coats rather than one thick layer allowing appropriate drying time between applications typically around 15 to 20 minutes.
Maintain a well ventilated workspace with consistent temperature and minimal humidity. Wear protective equipment including safety glasses respirator mask and disposable gloves. Work systematically moving from larger flat surfaces to more intricate areas like edges and corners. Pay careful attention to maintaining an even stroke and consistent spray distance to achieve a uniform professional finish.
Here is a quick reference of common spray painting mistakes and how to avoid them:
| Mistake | Cause | Solution |
|---|---|---|
| Patchy coverage | Moving sprayer too quickly | Slow and steady passes |
| Drips or runs | Holding sprayer too close | Maintain 20 cm distance |
| Peeling paint | Insufficient surface preparation | Clean and sand thoroughly |
| Orange peel texture | Spraying in high humidity | Paint in low humidity, ventilate |
| Poor adhesion | Skipping primer step | Always apply suitable primer |
Top tip: Practice your spraying technique on a piece of cardboard first to understand the optimal spray angle and distance before working on your actual cabinets.
Step 5: Inspect Surfaces and Ensure Painting Quality
The final stage of your kitchen spray painting project involves a meticulous inspection to guarantee a flawless professional finish that will transform your kitchen’s appearance. Careful examination of your newly painted surfaces ensures you achieve the high standard of quality you deserve. Kitchen spray finishes demand thorough evaluation to confirm exceptional results.
Begin your inspection under bright natural light or using a strong portable light source that reveals even subtle imperfections. Look closely for signs of uneven coverage including patchy areas orange peel texture drips or missed spots. Run your hand gently over the surface checking for smoothness and consistency checking that the paint adheres uniformly without bubbling or flaking. Pay special attention to edges corners and areas around handles or hardware which often require extra scrutiny. Use a clean white cloth to test the surface cleaning how well the paint responds and whether it leaves any residue or marks when wiped.
Allow the paint to cure completely which typically takes between 24 to 48 hours depending on humidity and temperature conditions. During this period avoid touching or cleaning the surfaces and ensure good ventilation to support proper drying. If you notice any minor imperfections most can be corrected with light additional sanding and a touch up coat applied with precision. Remember that professional results require patience and attention to detail.
Top tip: Use a bright torch or angle your inspection light at various degrees to catch any subtle surface inconsistencies that might be missed under standard lighting.
Transform Your Kitchen with Expert Spray Painting Services
If you have followed our comprehensive kitchen spray painting tutorial but find the preparation, priming, and spray application challenging or time consuming, you are not alone. Achieving a flawless finish requires careful surface prepping, selecting the right kitchen safe spray paints, and mastering application techniques to avoid issues like peeling or uneven coverage. These steps can be overwhelming and might risk compromising the beautiful fresh new look you desire.

Let our professional kitchen respray service take the stress away by delivering expert results right in your home, respraying kitchens in situ with precision and care. Discover how we ensure flawless preparation and smooth, durable finishes tailored to kitchen environments by exploring our Uncategorized Archives – WordPress. Ready for a hassle-free kitchen transformation? Visit https://skrspecialists.co.uk now to get started and enjoy the vibrant, like-new kitchen you deserve.
Frequently Asked Questions
How do I prepare my kitchen surfaces for spray painting?
To prepare your kitchen surfaces for spray painting, begin by clearing all items from your countertops and covering your flooring with heavy drop cloths or plastic sheeting. Clean all surfaces with a degreasing cleaner and follow up with a light sanding to ensure proper paint adhesion.
What type of spray paint should I use for my kitchen cabinets?
Opt for water-based spray paints designed specifically for kitchen environments, as they are more durable and resistant to moisture and heat. Ensure the paint is an enamel type that provides a washable finish to withstand daily wear and tear.
How can I avoid common spray painting mistakes?
To avoid common spray painting mistakes, maintain a consistent distance of approximately 20 centimetres from the surface while spraying and use slow, steady motions. Practise on a piece of cardboard before working on your cabinets to ensure you are comfortable with the technique.
What is the purpose of applying a primer before spray painting?
Applying a primer is essential as it creates a uniform base layer, improving paint adhesion and providing a smoother finish. Sand the surfaces lightly and use a high-quality primer specially formulated for kitchen surfaces to block stains and prepare for the top coat.
How long does it take for the paint to cure completely?
The paint typically requires 24 to 48 hours to cure completely, depending on humidity and temperature conditions. Avoid touching or cleaning the surfaces during this period to ensure optimal results.
What should I do if I find imperfections after painting?
If you notice imperfections after painting, many can be corrected with light sanding and an additional touch-up coat applied carefully. Use a clean cloth to test the surface and determine if any areas need attention.