")
Paint Drying Process for Kitchens: Achieve a Flawless Finish
Every british homeowner knows that kitchen makeovers come with high expectations for both appearance and durability. In fact, over 80 percent of kitchen painting failures are caused by poor surface prep, rushed application, or improper drying conditions. Getting that flawless, professional look means working methodically at every stage, from cleaning and sanding to curing and reinstallation. This step-by-step approach reveals how careful planning and patience can transform your kitchen’s look and boost its longevity.
Table of Contents
- Step 1: Prepare Kitchen Surfaces For Optimal Drying
- Step 2: Apply Paint Using Professional In-Situ Techniques
- Step 3: Control Environmental Factors To Ensure Even Drying
- Step 4: Verify Paint Dryness And Perform Quality Checks
- Step 5: Reinstall Kitchen Fittings And Resume Normal Use
Quick Summary
| Key Point | Explanation |
|---|---|
| 1. Thoroughly clean surfaces before painting | Remove grease and grime to ensure paint adherence and a smooth finish, crucial for successful results. |
| 2. Use high-quality brushes and rollers | Select the right tools for application; they significantly impact the finish quality and avoid imperfections. |
| 3. Control temperature and humidity while drying | Maintain appropriate conditions to prevent adhesion issues; optimal drying environments lead to a durable paint job. |
| 4. Inspect and sand surfaces between coats | Check for imperfections and smooth rough areas to achieve a flawless finish in each layer of paint. |
| 5. Reinstall fittings only after paint has cured | Allow sufficient curing time to protect the newly painted surfaces during reinstallation of hardware and appliances. |
Step 1: Prepare kitchen surfaces for optimal drying
Successful kitchen painting begins with impeccable surface preparation. Transforming your kitchen’s appearance requires strategic groundwork that ensures your paint adheres perfectly and dries smoothly.
Start by thoroughly cleaning kitchen surfaces to remove accumulated grease, cooking residues, and hidden grime. Use a multi-purpose degreaser or mild detergent to eliminate stubborn kitchen oils that can prevent paint from bonding correctly. Rinse surfaces completely with clean water and allow them to dry entirely before proceeding.
Next, inspect your kitchen surfaces carefully for imperfections. Sand wooden or previously painted areas lightly with 100120 grit sandpaper to create a smooth, receptive base for your new paint. For laminate surfaces, apply a specialised melamine primer without sanding. Repair any visible cracks, holes, or areas of peeling paint to guarantee an even finish. This meticulous preparation ensures superior paint adhesion and creates the foundation for a professional result.
Warning: Rushing or skipping surface preparation will compromise your entire paint job. Take your time and be methodical for stunning results.
Step 2: Apply paint using professional in-situ techniques
Transforming your kitchen with a professional paint application requires precision and technique. Your goal is to create a smooth, even finish that looks like it was done by a professional decorator.
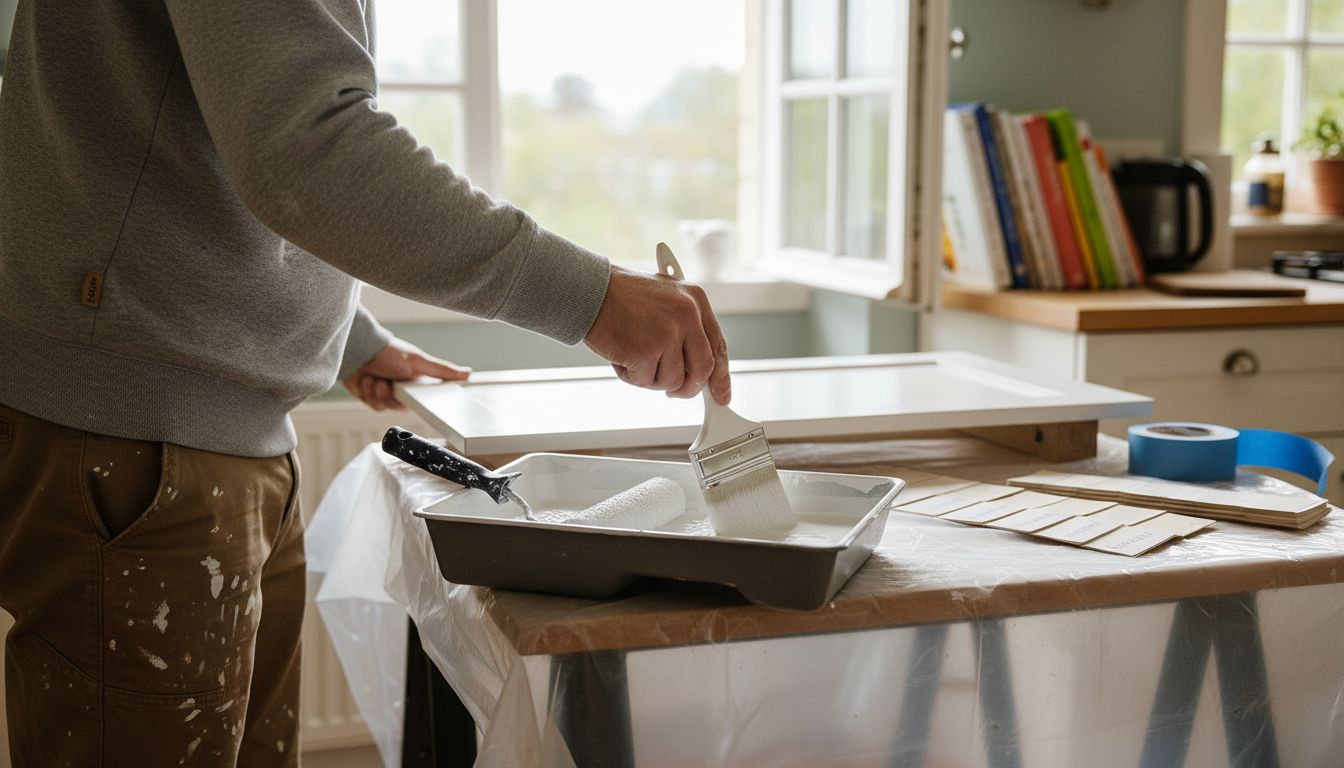
Begin by selecting high-quality synthetic brushes designed for kitchen cabinetry. For oil-based paints, use a small foam roller followed by light brushing to achieve a seamless surface. Apply at least two thin coats of paint, allowing each layer to dry completely before adding the next. This methodical approach prevents thick brush strokes and ensures a uniform appearance.
Apply paint in consistent, smooth strokes moving in the same direction. Work systematically across each surface section to maintain an even coverage. For intricate areas or detailed trim, use a smaller precision brush to guarantee clean lines and professional results. Pay special attention to edges and corners, ensuring no drips or uneven patches disrupt your finish.
Warning: Patience is crucial. Rushing the painting process will result in visible imperfections that can compromise the entire kitchen’s aesthetic. Take your time and maintain a steady, controlled technique for a truly flawless transformation.
Step 3: Control environmental factors to ensure even drying
Achieving a professional paint finish in your kitchen depends heavily on managing the surrounding environment during the drying process. Creating the ideal conditions will significantly impact the quality and durability of your paint job.
Maintain precise temperature control between 8ºC and 30ºC to prevent adhesion problems and ensure optimal paint performance. Open windows and position fans strategically to promote air circulation and accelerate drying time. This approach helps minimise fume accumulation while creating a consistent drying environment that prevents uneven patches or moisture retention.
Pay close attention to humidity levels and air flow. Position fans to create gentle, consistent air movement without directly blowing onto wet painted surfaces. Remember that while the paint might feel dry to the touch after a few hours, complete curing takes longer. Avoid placing objects near freshly painted surfaces and resist the temptation to use the kitchen until the paint has fully hardened.
Warning: Rushing the drying process or introducing contaminants can compromise your entire paint job. Patience and careful environmental management are key to achieving a flawless, professional finish.
Step 4: Verify paint dryness and perform quality checks
The final stage of your kitchen painting project involves carefully assessing the paint finish to ensure a professional result that will stand up to daily use. Achieving a flawless paint job requires patience and meticulous attention to detail.
Perform comprehensive quality checks by first allowing the paint to dry completely. After each coat, wait the recommended drying time and then conduct a gentle inspection. Lightly run your hand over the surface to check for smoothness, looking for any uneven patches or imperfections. If you notice any rough spots, use fine grit sandpaper to smooth them out before applying the next coat.

Remember that paint feeling dry to the touch does not mean it has fully cured. Allow sufficient time for the paint to harden completely before subjecting the surfaces to normal kitchen activities. This typically takes several days, during which you should avoid placing heavy objects on the painted surfaces or cleaning them vigorously. A fully cured paint finish will be more resistant to scratches, moisture, and everyday wear and tear.
Warning: Rushing the final stages can undo all your careful preparation. Take time to verify the paint finish thoroughly, ensuring a durable and professional result that will transform your kitchen.
Step 5: Reinstall kitchen fittings and resume normal use
You have successfully transformed your kitchen with a fresh paint finish and now it is time to bring everything back to life. This final stage will restore your kitchen to full functionality while showcasing your professional painting work.
Carefully reinstall all kitchen hardware by first ensuring the paint has completely cured. Begin with handles and hinges, checking that each fitting is aligned perfectly and securely fastened. Use the original mounting points or adjust them slightly if needed to achieve a precise fit. Take your time during this process to prevent scratching the new paint surface.
When reattaching electrical appliances or decorative elements, handle them with clean hands and move slowly to avoid damaging the fresh paint finish. Allow an additional 24 to 48 hours after reinstallation before subjecting the surfaces to heavy use or rigorous cleaning. This extra patience will help ensure the paint fully hardens and becomes resistant to everyday kitchen activities.
Warning: Rushing the final installation can easily damage your meticulously applied paint finish. Move carefully and deliberately to protect your newly transformed kitchen surfaces.
Master the Art of a Flawless Kitchen Paint Finish with Expert Help
Achieving the perfect kitchen paint drying process is challenging. From thorough surface preparation to controlling environmental factors and ensuring each coat cures properly, even minor missteps can spoil your kitchen transformation. Key goals like smooth adhesion, consistent drying between 8ºC and 30ºC, and meticulous quality checks require patience and precision. If you find these steps overwhelming or worry about rushing and damaging your work, you do not have to face this alone.

Discover professional in-situ kitchen respray services that take the stress out of the paint drying process. At SKR Specialists, we combine industry expertise with careful environmental control to deliver stunning, durable finishes that last. Ready to transform your kitchen without the hassle of guesswork or drying worries? Explore our full range of solutions in our Uncategorized Archives and learn more about precision kitchen respraying on our main site. Take the next step toward a flawless finish today.
Frequently Asked Questions
How do I prepare my kitchen surfaces for painting?
To prepare your kitchen surfaces for painting, start by cleaning them thoroughly with a degreaser or mild detergent to eliminate grease and cooking residues. Next, inspect for imperfections and sand wooden surfaces lightly, or use a specialised melamine primer on laminate surfaces without sanding.
What techniques should I use for painting kitchen cabinetry?
For painting kitchen cabinetry, use high-quality synthetic brushes and a small foam roller for oil-based paints. Apply at least two thin coats, allowing each one to dry completely before adding the next to achieve a smooth and even finish.
How can I control the environment for optimal paint drying?
To control the environment for optimal paint drying, maintain a temperature between 8ºC and 30ºC and use fans to promote air circulation. Avoid placing objects near the freshly painted surfaces until the paint has fully cured, typically several days after application.
How do I know when my paint is fully dry and cured?
To determine if your paint is fully dry and cured, perform a gentle inspection after the recommended drying time. If the paint feels smooth and there are no visible imperfections, it is likely cured; however, avoid heavy use until several days have passed to ensure durability.
What should I do before reinstalling kitchen fittings?
Before reinstalling kitchen fittings, ensure the paint has completely cured to avoid damage. Carefully align and fasten handles and hinges, taking your time to prevent scratching the newly painted surfaces.
How long should I wait after painting before using my kitchen?
It is advisable to wait an additional 24 to 48 hours after reinstalling kitchen fittings before subjecting the surfaces to heavy use. This extra time allows the paint to fully harden and become more resistant to everyday wear and tear.
Recommended
- Kitchen Paint Finish Guide for a Flawless Update – WordPress
- What Is Kitchen Paint Durability? Complete Overview – WordPress
- Kitchen Cabinet Refinishing Guide for Flawless Results – WordPress
- Kitchen Unit Painting Tutorial for a Flawless Finish – WordPress
- Cozee Bay – 7 Essential Tips for Your Kitchen Organization Checklist